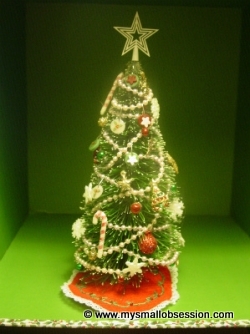
Dollhouse Christmas Ornament Tutorial
Bonus Video Tutorial at the bottom of this page ~ How to make More Miniature Ornaments
For Personal Use Only Please
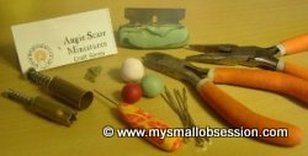
Cane slices were purchased from Angie Scarr Miniatures.
|
Supplies:
|
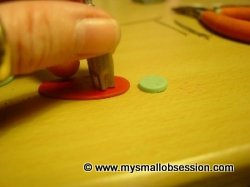
Roll clay through pasta machine on the thickest setting. Use the 7/16" circle cutter to cut out as many circles as you need, depending on how many ornaments you are making.

|
|
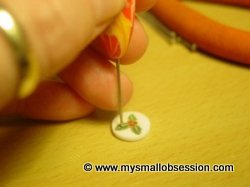
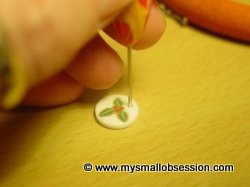
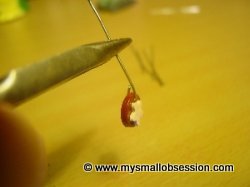
If you are using cane slices, place one on the circle and gently press down. Try not to make any indentations or marks when pressing, use a needle tool (gently) if necessary to make sure it's snug. You can also use a little liquid Sculpey if necessary. Use the needle tool to make a small hole. This is what the eye pin or wire will go through.
|
|
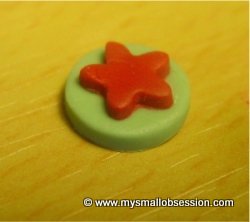
If you're not using cane slices, roll out another piece of clay in a different color than your circle, two sizes thinner on the pasta machine. Cut out stars with your 3/8' star cutter. Carefully place the star on your circle and don't forget to make a hole for the wire.
|
|
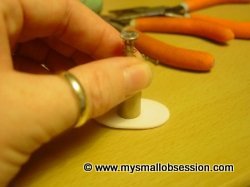
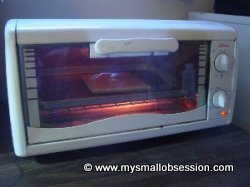
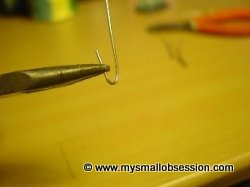
Bake clay according to polymer clay package instructions. After your ornaments have cooled, use needle nose pliers to bend one end of your eye pin.
|
|
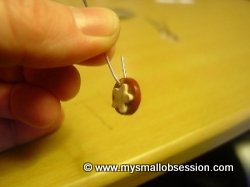
Thread the pin through the hole you made, be careful not to use to much pressure. Use the pliers to squeeze the wire together. Use wire cutters to cut down wire, you want it as small as you can get it and still be able to close the wire. Use needle nose pliers to carefully bend the wire about 1/4 inch from top of ornament, bend completely in half.
|

|

|
|
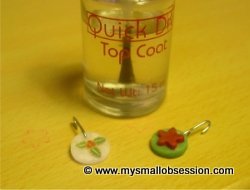
Cut wire just after the bend. Add a coat of clear nail polish and allow to dry.

|

|
|