Miniature Dollhouse Jar Tutorial
For Personal Use Only Please
|
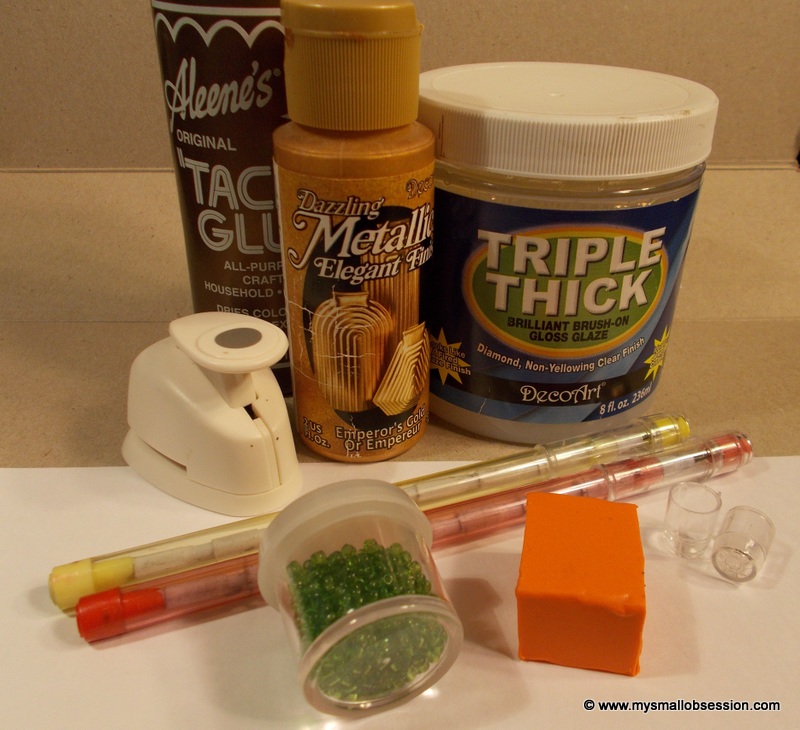
Supplies:
I also recommend a wet washcloth or wet wipe to clean the Triple Thick off your fingers during the process.
|
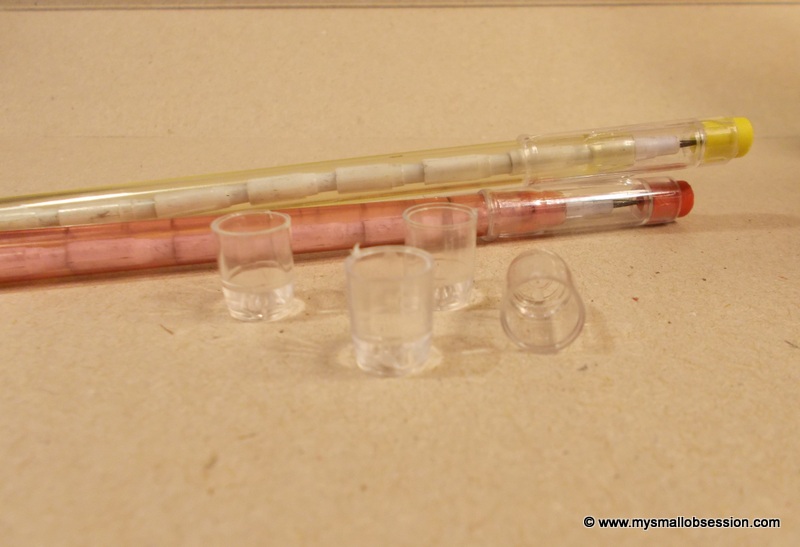
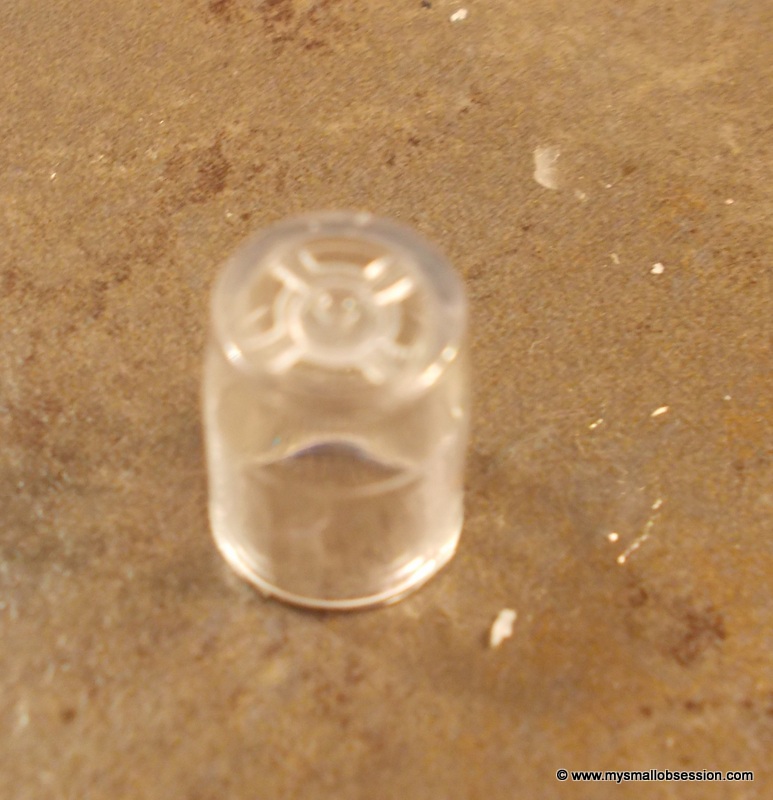
Remove the eraser tops from your mechanical pencils. There are holes in the tops so be sure to use a surface that won't be damaged by the small amount Triple Thick that will leak out. I used a tile.
|
|
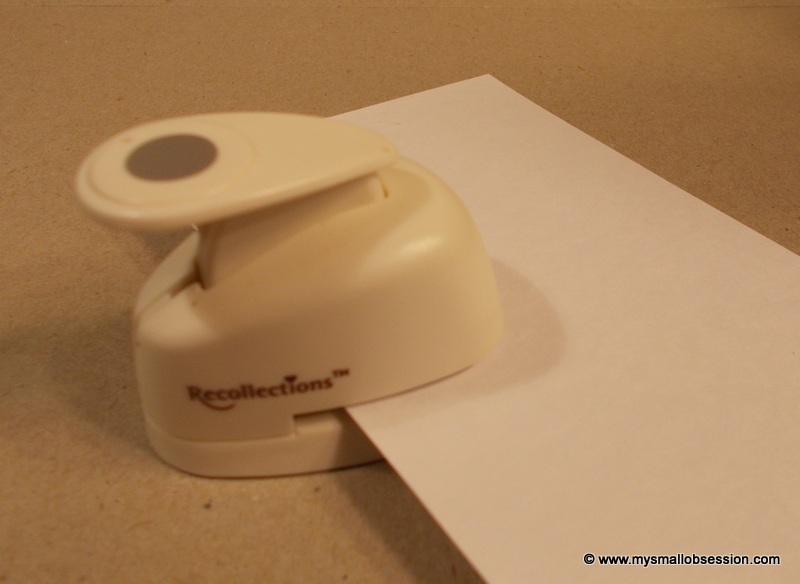
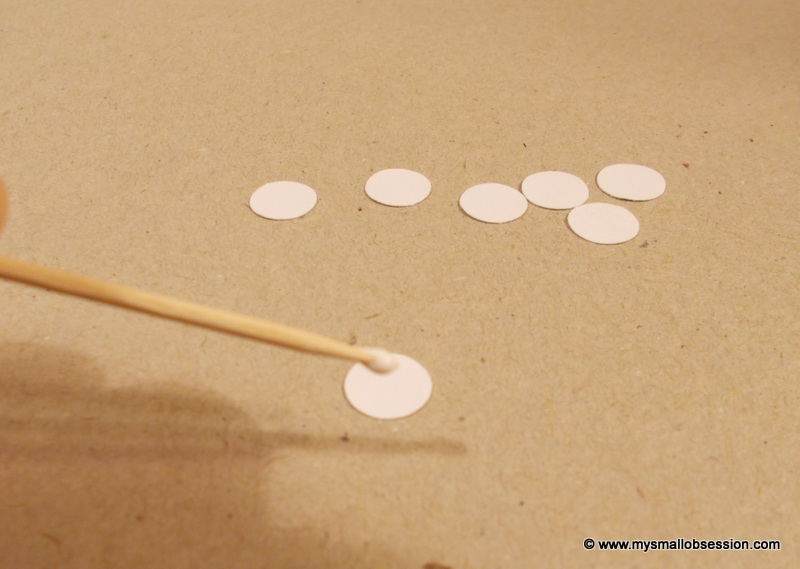
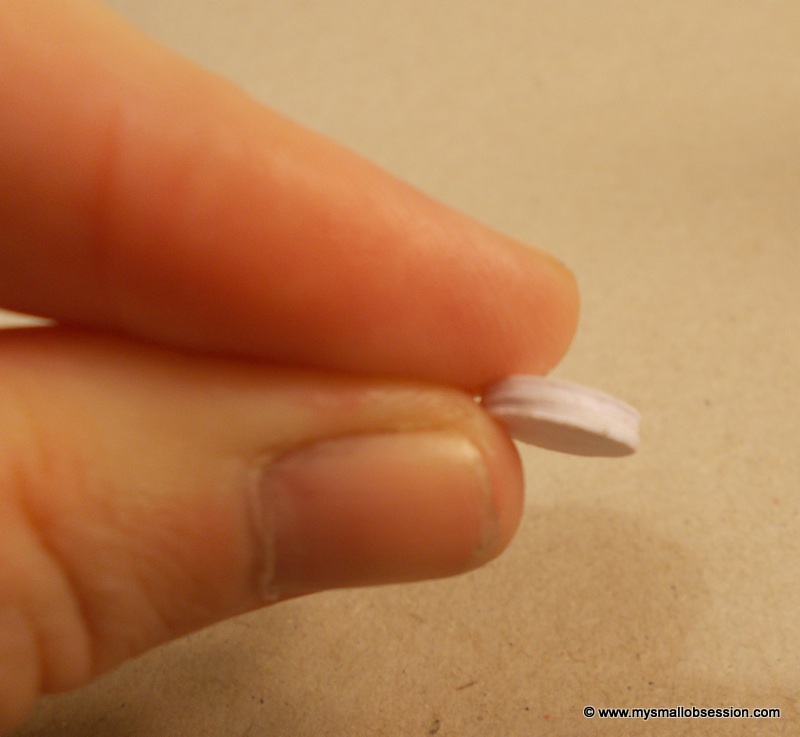
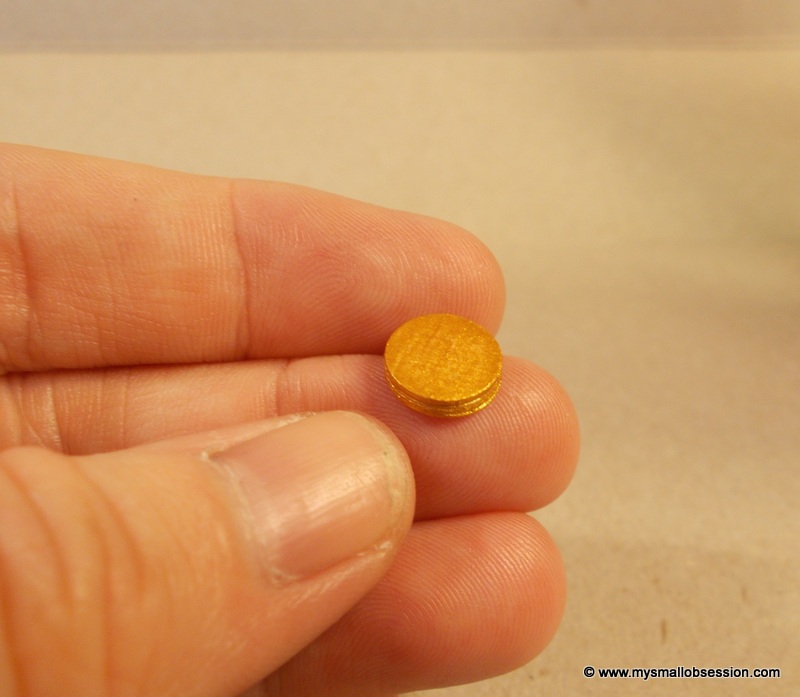
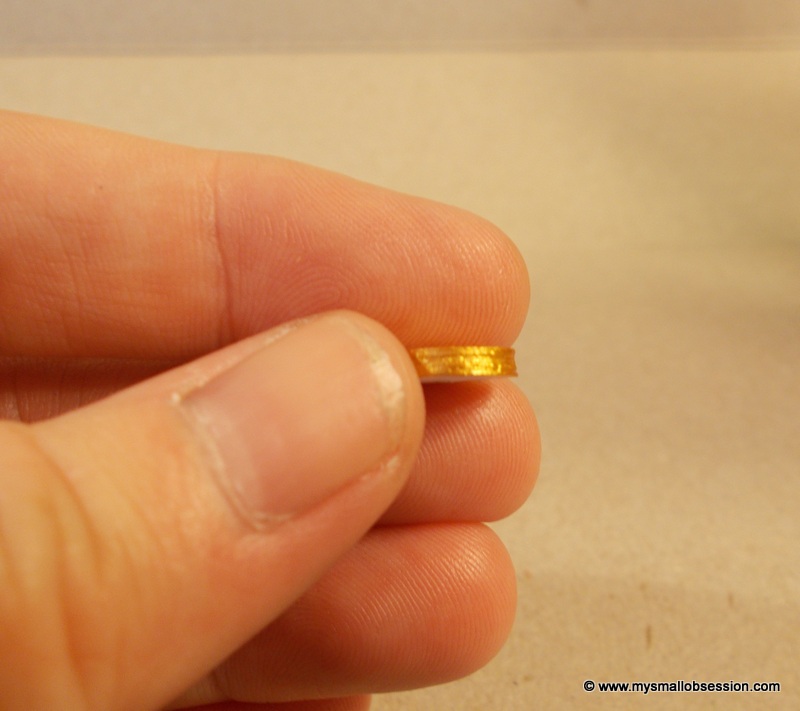
Use the 3/8 inch circle punch to punch out 7 circles of card stock. Apply a small amount of glue to one of the circles and add another circle, repeat until they are all glued into a stack taking care to make sure the stack is even. Allow to dry.
|

|
|
|
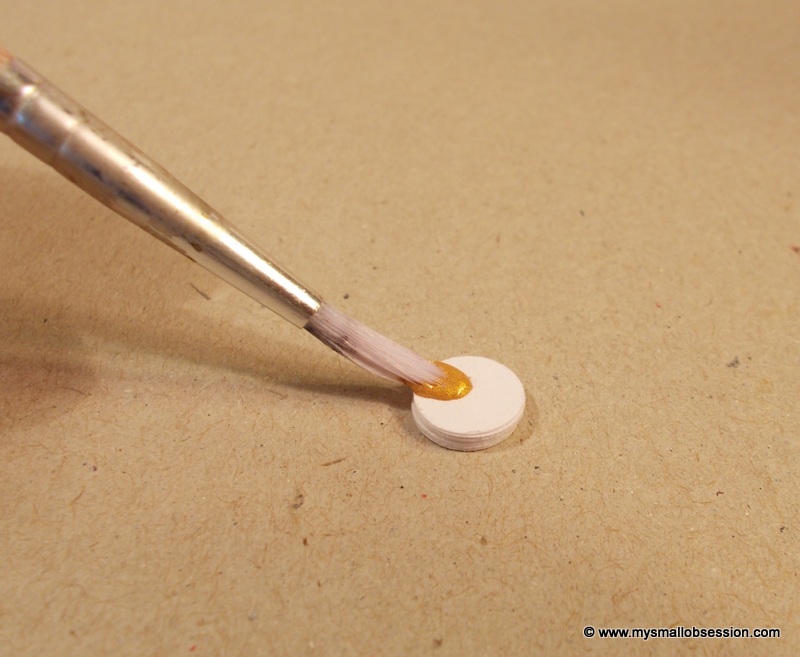
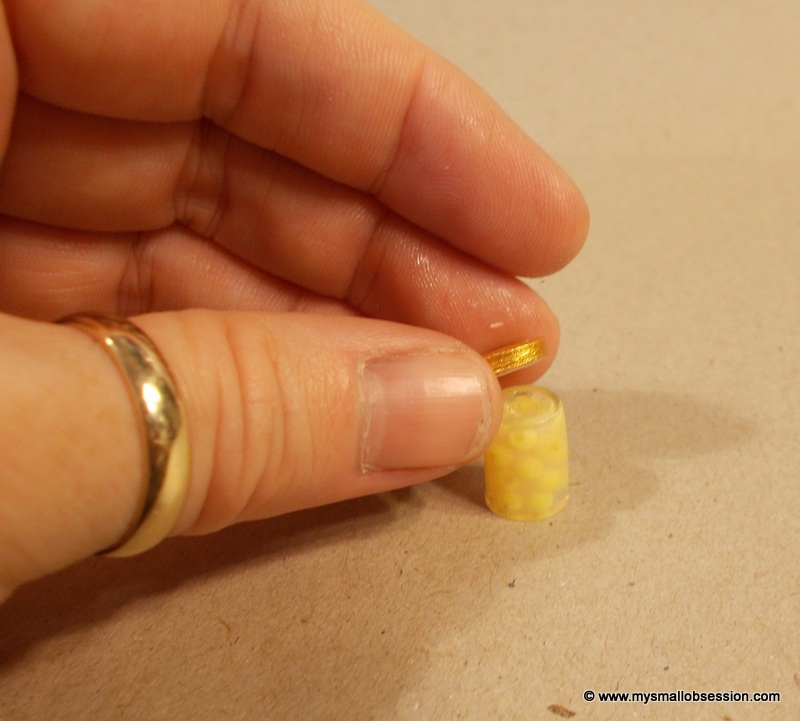
Paint the the top and side of your stack with gold paint and allow to dry. This is the lid to your jar.
|
|
|
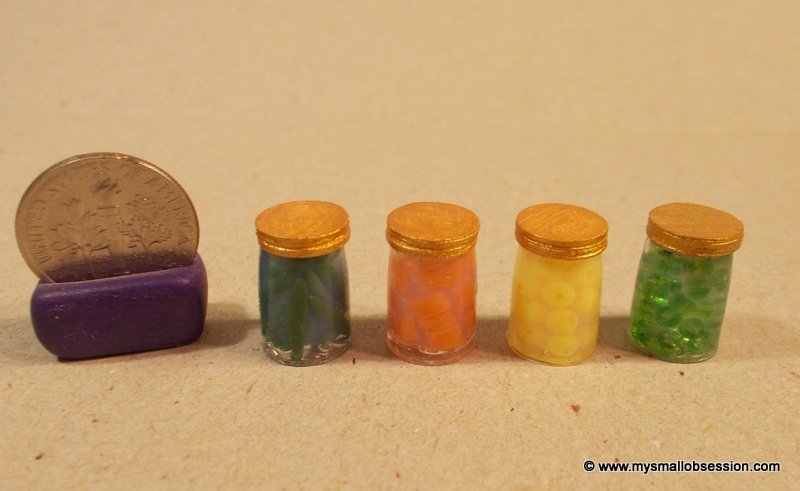
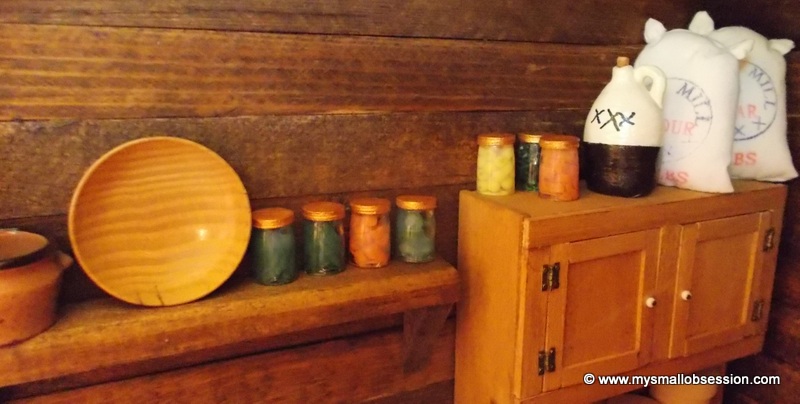
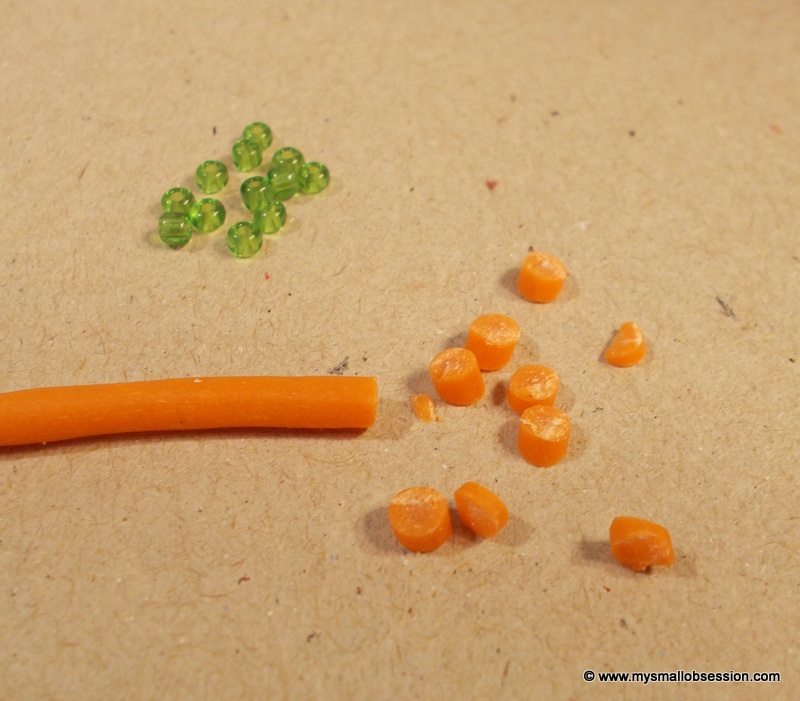
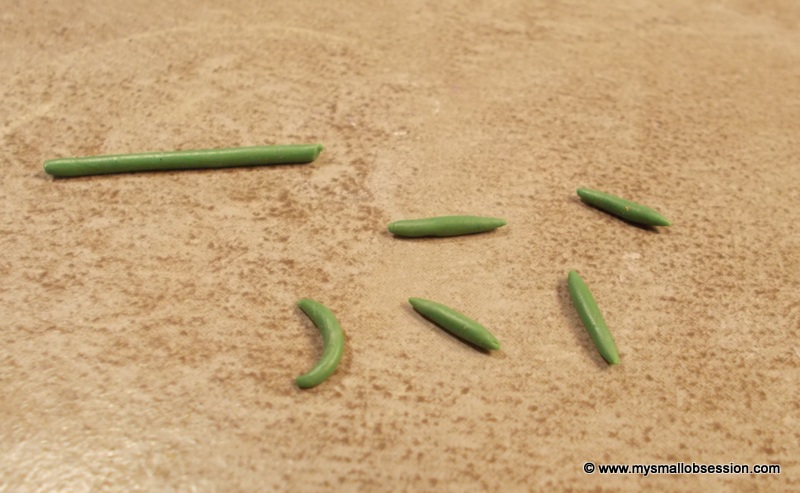
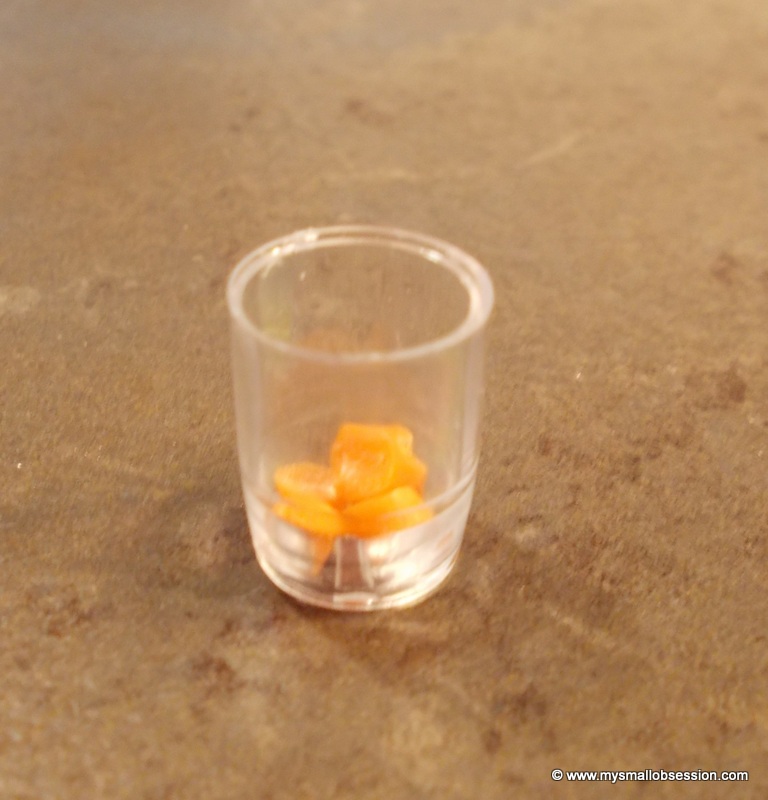
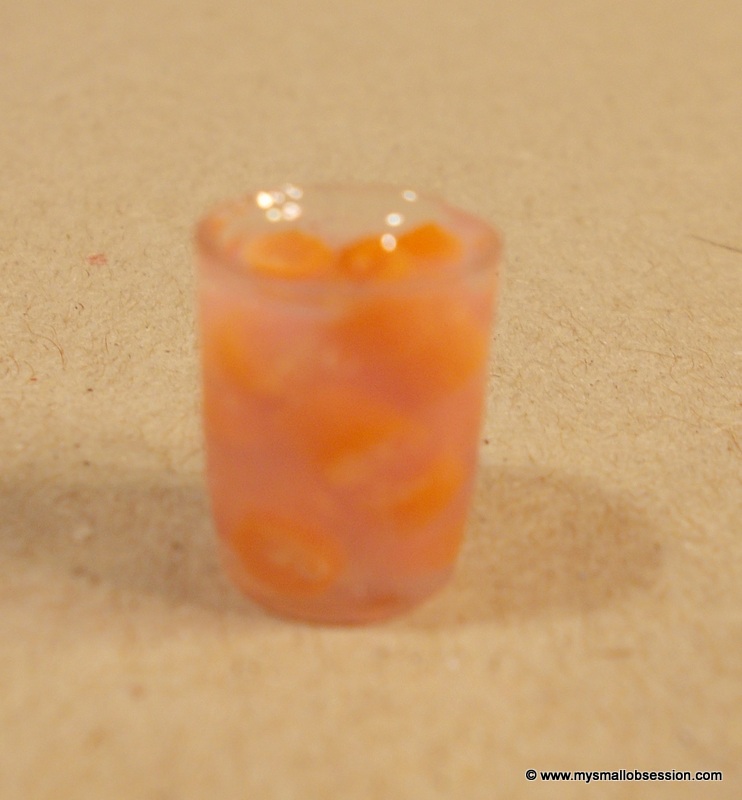
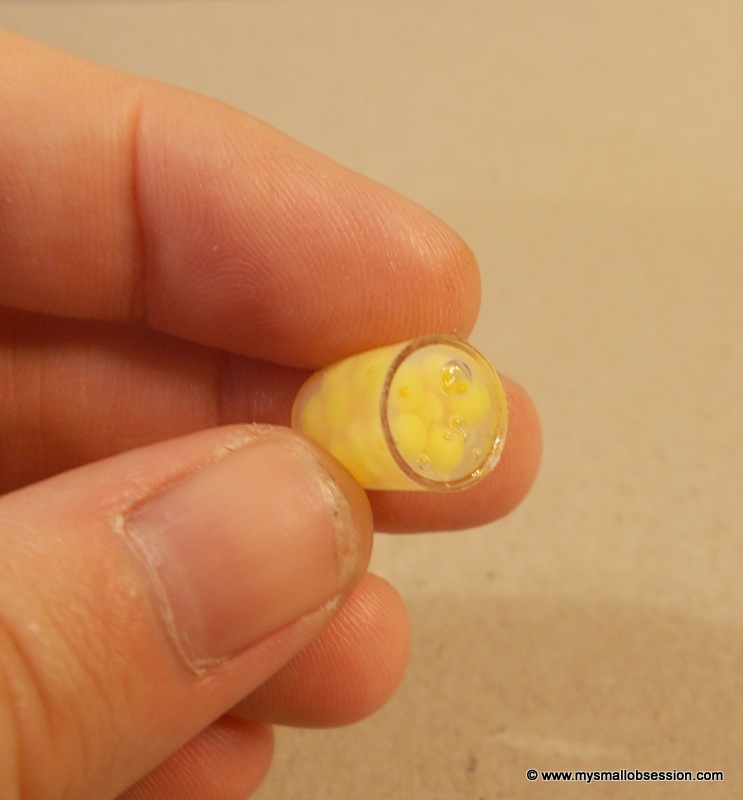
Choose beads or polymer clay or both to fill your jars. I made some carrots by rolling out a small snake of orange clay and baking it for 10 minutes then cutting into small circles. I rolled out a tiny bit of green clay to make green beans and then baked them for approx. 10 minutes. I also used some green seed beads for peas and tiny yellow beads for corn.
|
|
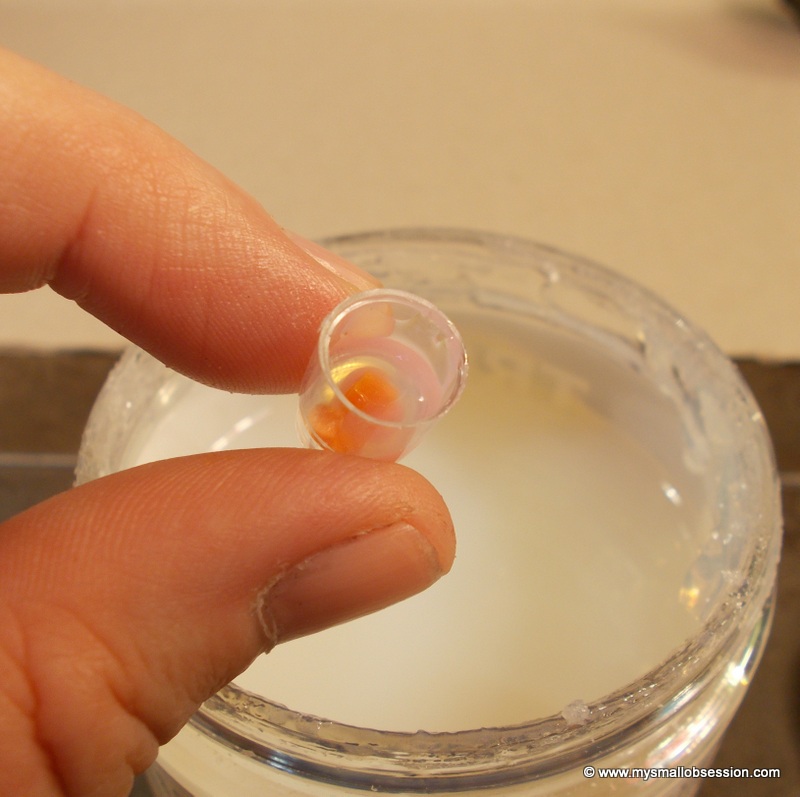
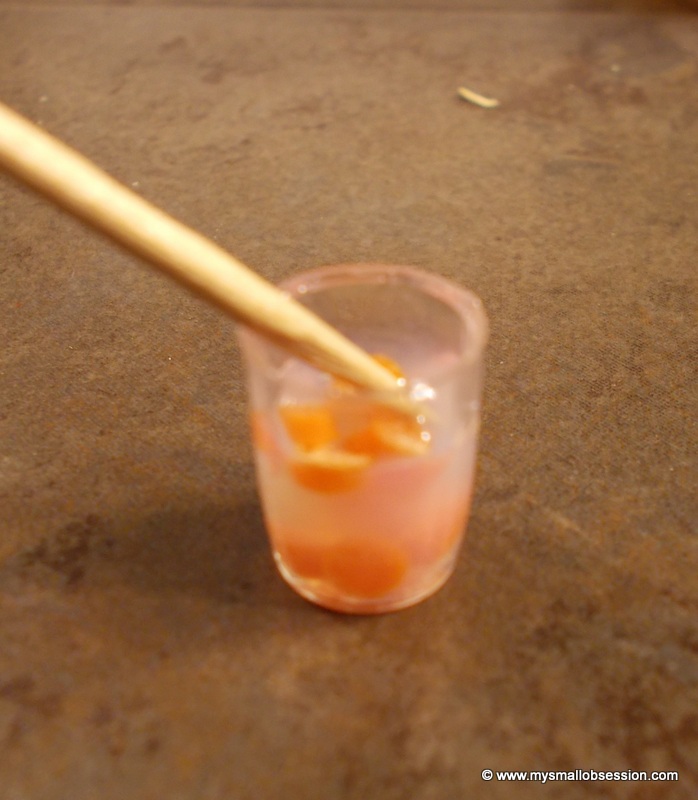
Take one of your eraser caps and add a small amount of your chosen "vegetable". Add a little Triple Thick with a toothpick and then add some more "veggies". Use the toothpick to gently push the "veggies" down. Keep adding small amounts of Triple Thick and "veggies" until the cap is full but not overflowing. This is where some of the Triple Thick will leak out through the little holes and get a little messy. The Triple Thick doesn't take long to dry and the amount that leaks out will be minimal. Wipe off any excess Triple Thick before setting aside to dry.
|
|
|
|
Once the Triple Thick has dried, turn your jar over so the holes are on top now. Add some glue to your lid and place it on top of your jar. Allow to dry.
|

|

|
|
That's all there is to it! Be creative and have fun!