Miniature Dollhouse Plate Tutorial
|
A Trash to Treasure Project
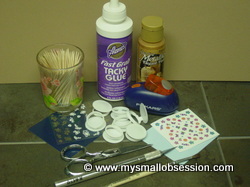
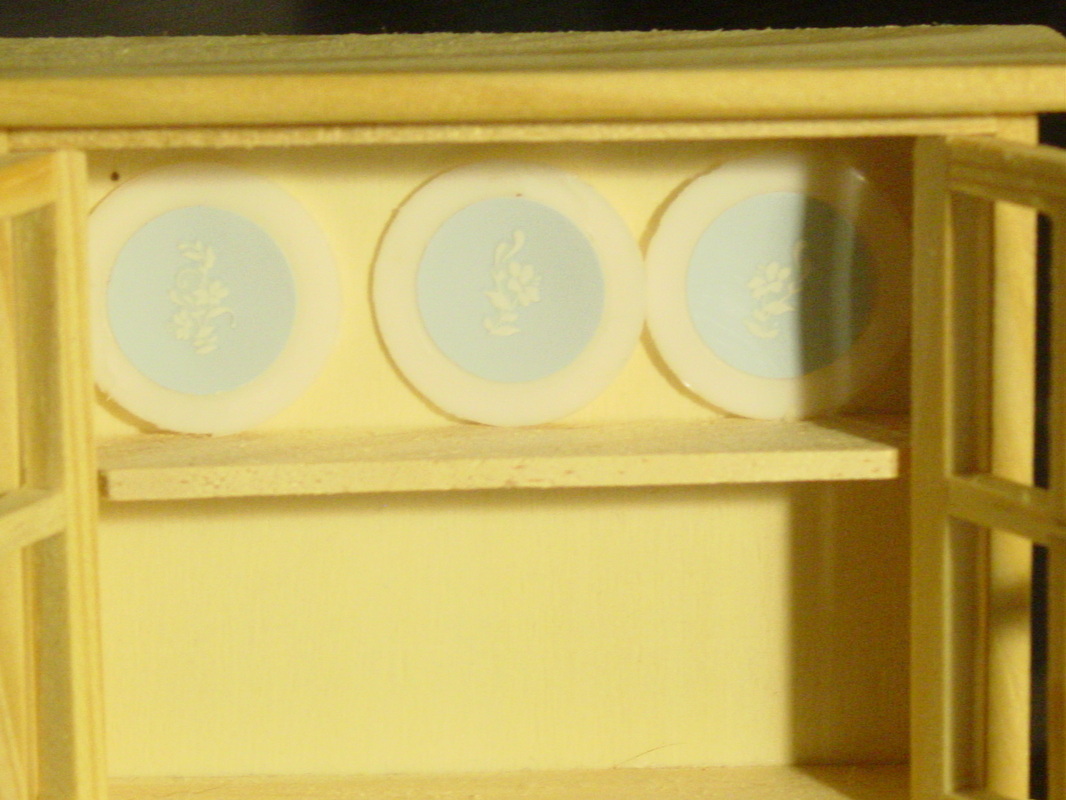
Save the pull tabs from your juice cartons — they make the most perfectly shaped miniature plates! With a decorative nail sticker for the design and a coat of Mod Podge to seal it all in, you can create a beautiful set of dollhouse dinnerware in minutes. Mix and match colours and patterns to create entire collections for your kitchen or dining room! For Personal Use Only |
Step 1 — Prepare the Plate
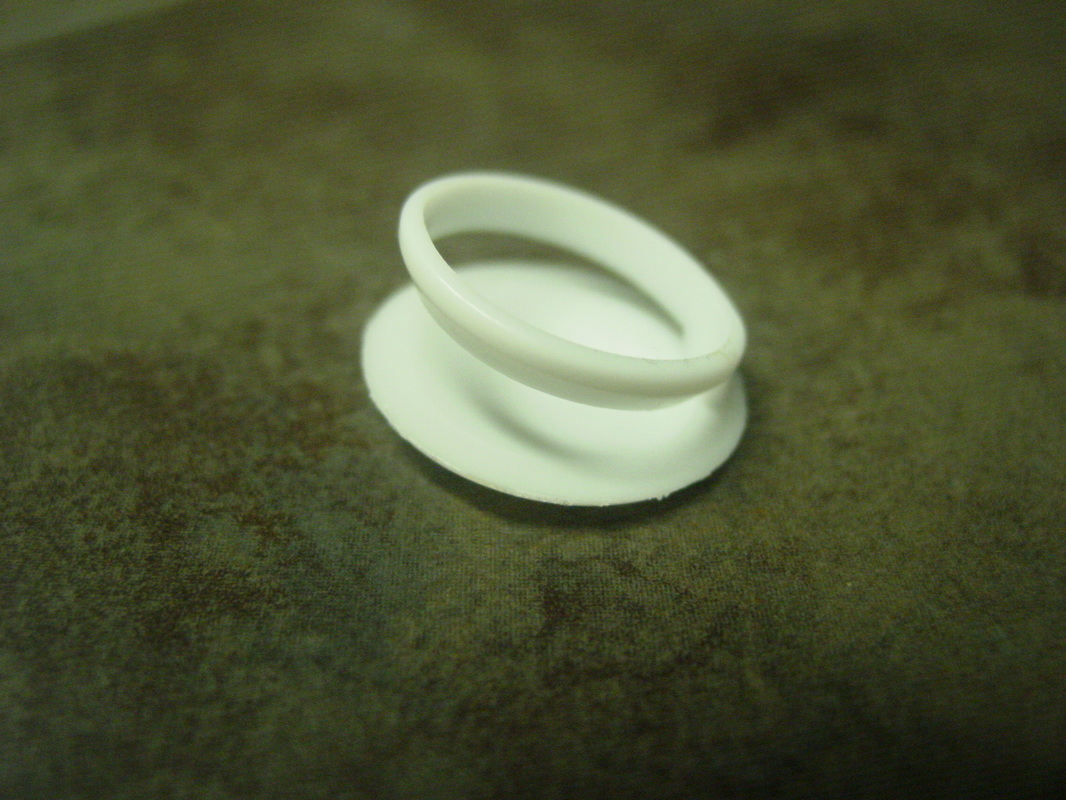
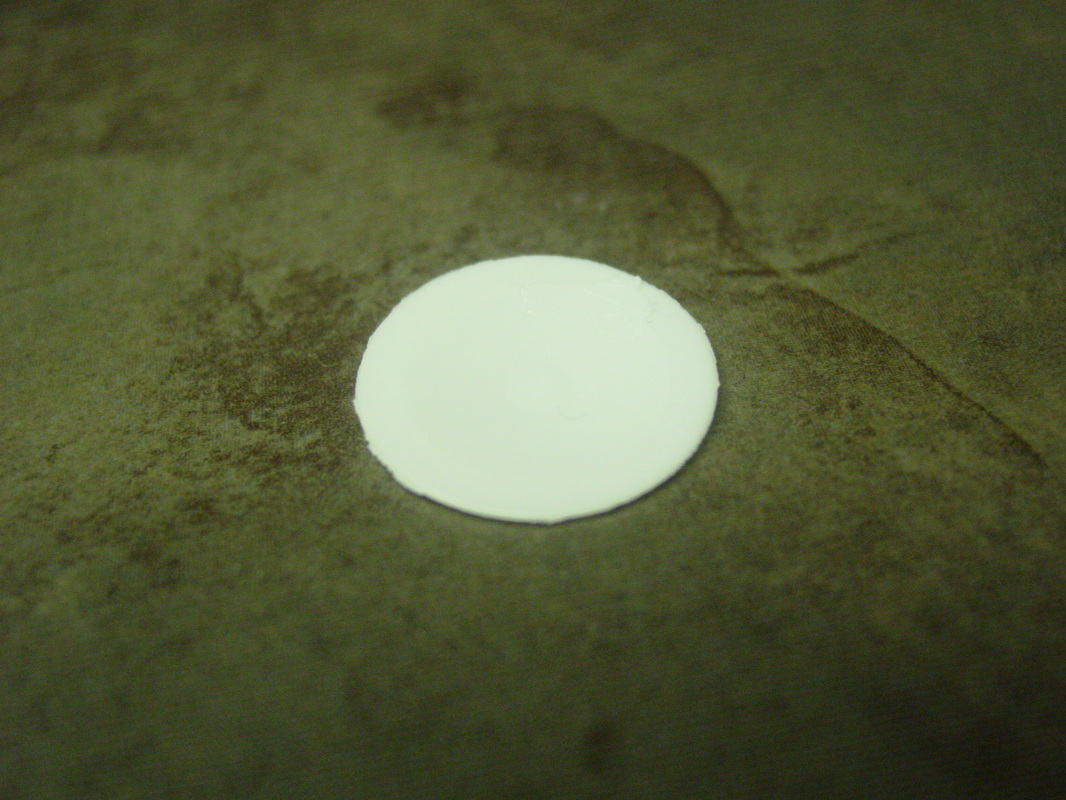
Using an X-Acto knife or sharp scissors, carefully remove the ring pull section from the juice carton tab, leaving just the flat circular plate shape. Take your time with this step — a clean cut makes for a much neater finished plate.
Step 2 — Cut the Paper Insert
Use your 1/2" circle cutter to punch out a circle of coloured paper. This will become the decorative face of your plate, so choose a colour that complements the nail sticker design you plan to use.
Step 3 — Add the Sticker Design
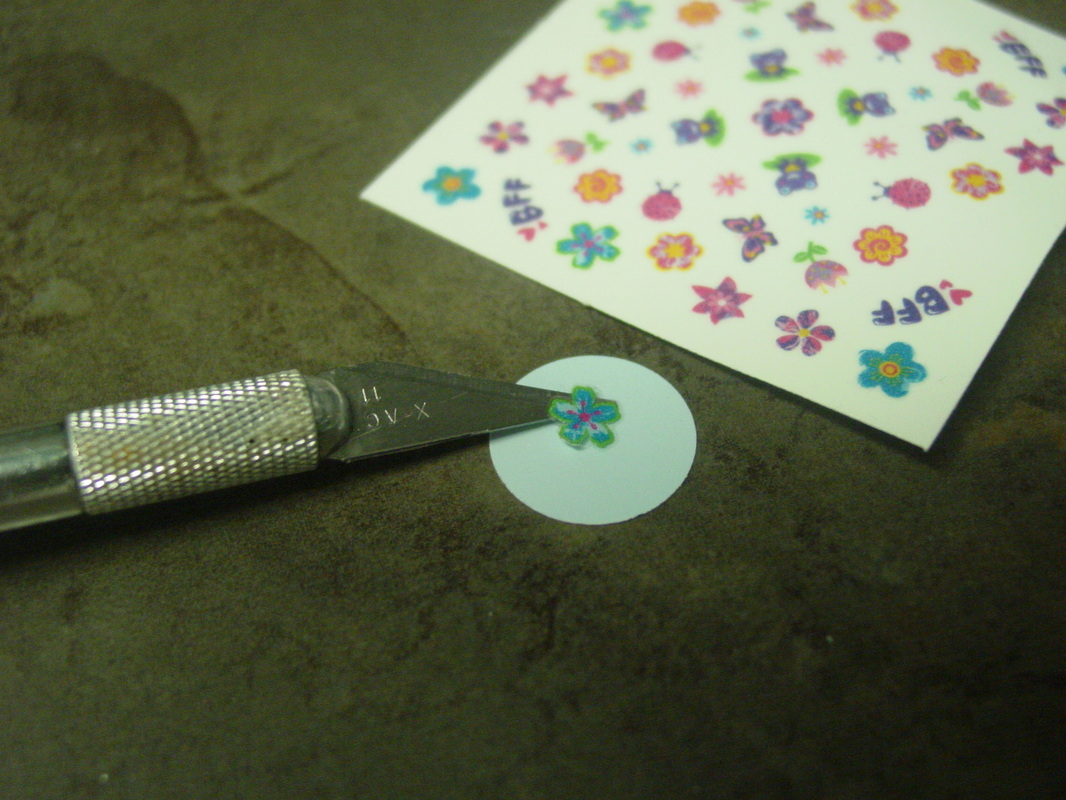
Select a decorative nail sticker and carefully position it in the centre of your paper circle. Take a moment to make sure it's exactly where you want it before pressing it firmly into place — nail stickers don't always reposition well once they've touched the paper!
Step 4 — Assemble the Plate
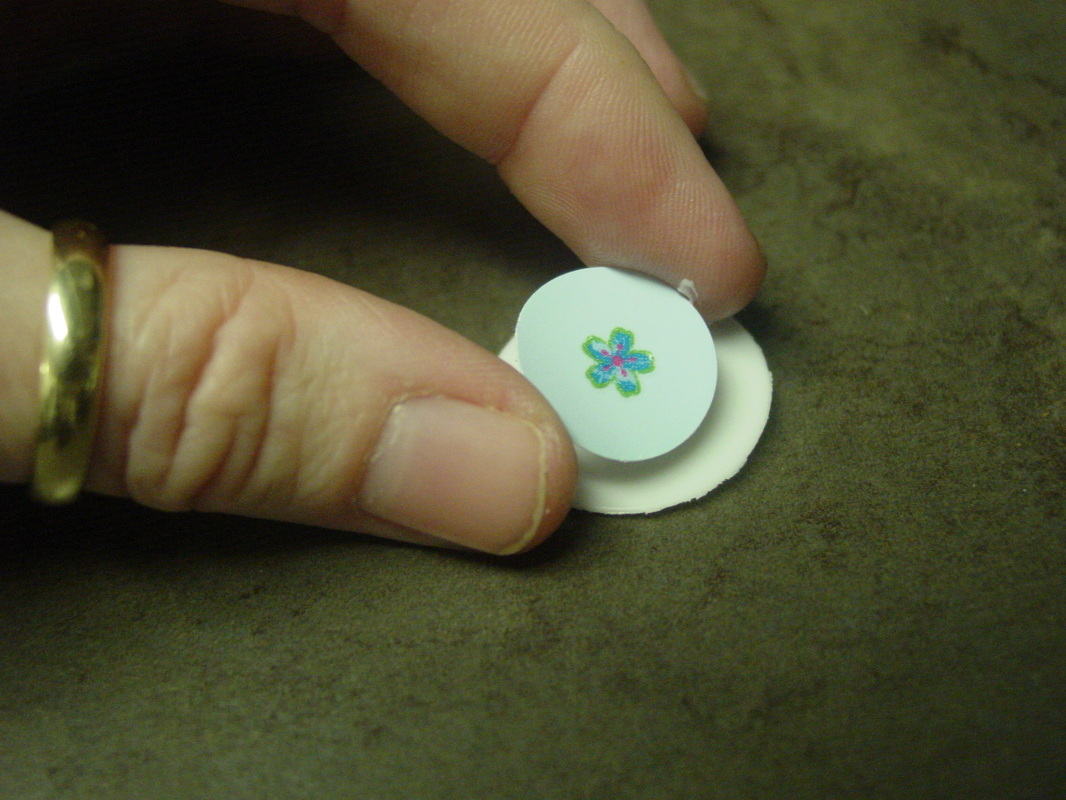
Apply a small amount of glue to the back of your decorated paper circle and carefully press it into the centre of the pull tab plate. Use a toothpick to nudge it into perfect position if needed. Allow to dry completely.
Step 5 — Seal & Finish
Once dry, apply a coat of Mod Podge over the entire plate surface to seal and protect the design. This also gives your plate a lovely subtle sheen. Allow to dry fully — and your miniature plate is ready to use!
Tips & Ideas
- Paint the rim: Before assembling, paint the pull tab rim in white, gold, or a colour that coordinates with your sticker for an elegant finished look
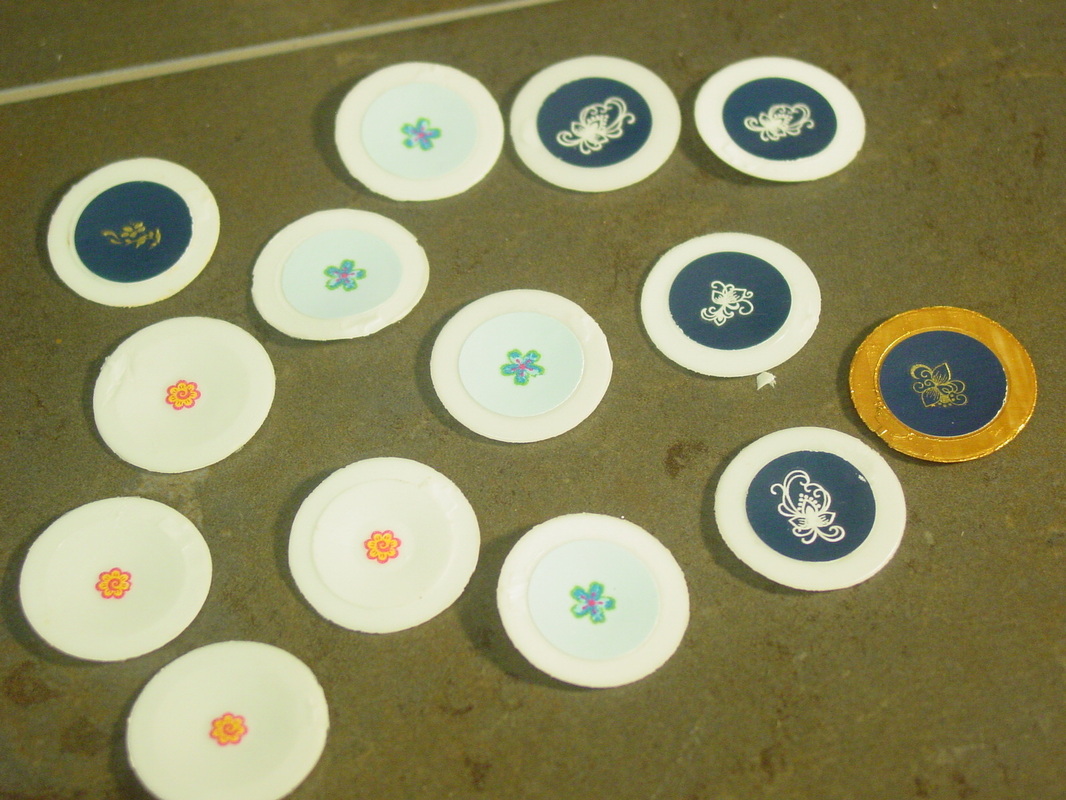
- Make a full set: Punch several paper circles at once and use matching stickers to create a coordinating dinnerware collection
- Mix & match: Combine different sticker patterns and paper colours for an eclectic, collected-over-time look on your dollhouse shelves
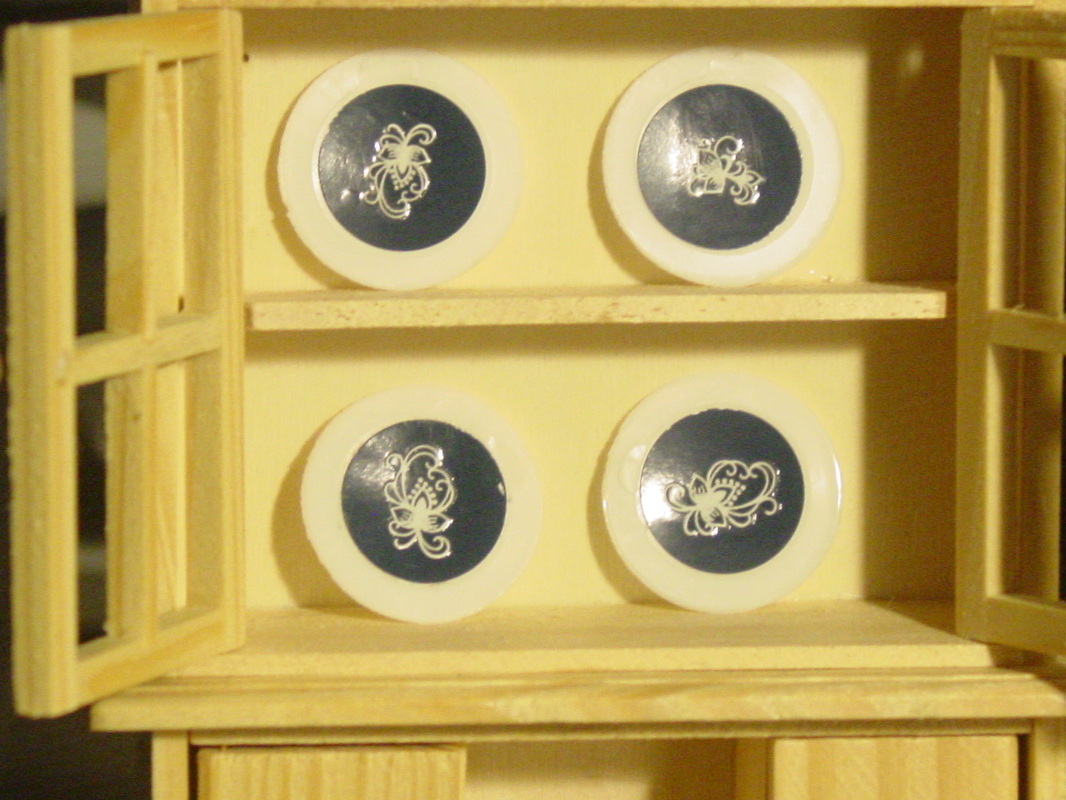
- Display ideas: Hang finished plates on a miniature plate rack, stack them in a kitchen cabinet, or set them on a dining table for a beautiful scene
- Sticker alternatives: Tiny printed images, rubber stamp designs, or hand-painted motifs all work beautifully in place of nail stickers
Want to Complete Your Dollhouse Table Setting? Check out the full DIY Dollhouse Tableware tutorial collection for matching cutlery, bowls, and more!