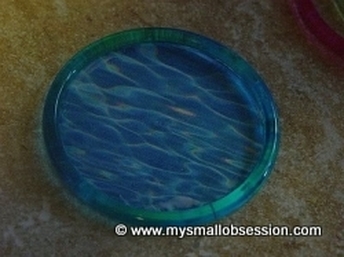
Dollhouse Wading Pool Tutorial
Bonus Video Tutorial at the bottom of the page ~ How to make a mini wading pool!
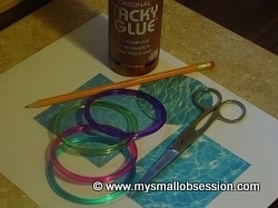
Click here for the "pool water printie". Use card stock or photo paper to print out "pool water". You need Adobe Reader to view and print the "pool water" printie. Download Adobe Reader for free.
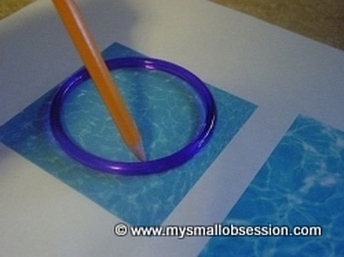
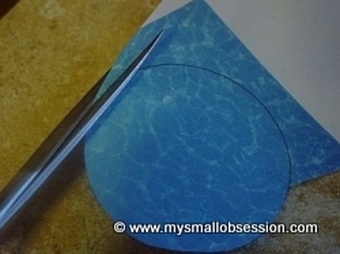
Print out the "pool water" and trace a circle with your pencil on the pool printie, using the inside of one of the bracelets as a guide. If you are using Mod Podge, apply a thin layer and allow to dry. Carefully cut out the circle keeping the edge as round as possible. Match the cutout printie to one of the bracelets and trim any edges you may see.
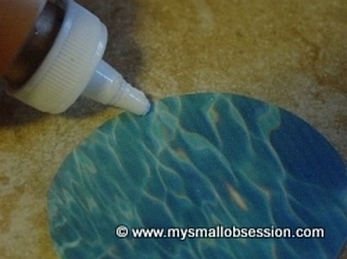
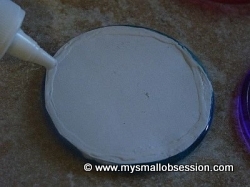
On the side showing the "water", add a thin line of glue all around the edge of the circle. Place one of the bracelets on top of the circle making sure to line it up and no edges are showing. Let dry for several minutes before going on the next step.
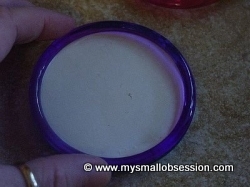
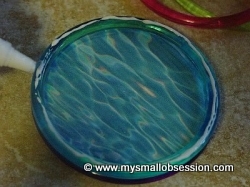
After allowing the glue to dry for a few minutes, turn over and add a thin line of glue to the bottom. Place a bracelet on the glue taking care to line up both bracelets. This will be the bottom of the pool. Allow to dry a couple of minutes. Turn your "pool" back over so you can see the "water". Add glue around the top of the bracelet.
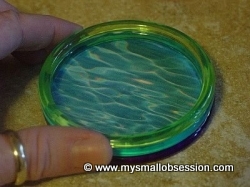
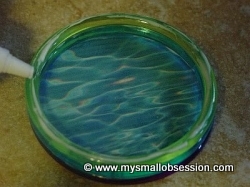
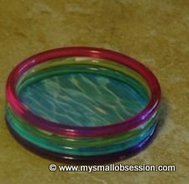
Add another bracelet, make sure they are lined up evenly. Glue the last bracelet into to place, line up evenly. Remove any glue that may have dripped. Let dry and enjoy your miniature wading pool!
