Miniature Fall Wreath Tutorial
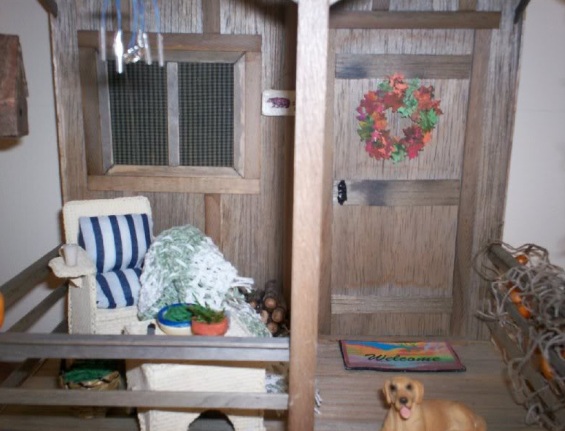
Donated by Mythical Miniatures
For Personal Use Only
|
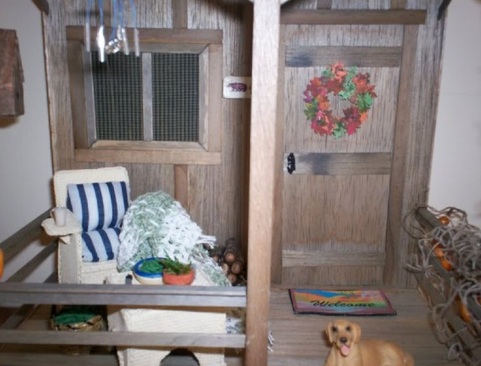
Welcome autumn into your dollhouse with this gorgeous miniature fall wreath!
Made from braided twist ties and hand-painted paper leaves, this charming project is surprisingly simple to make and looks absolutely stunning hanging on a dollhouse door. The layered leaf technique gives it a wonderfully realistic, dimensional look that's sure to impress! |
Step 1 — Make the Wreath Base
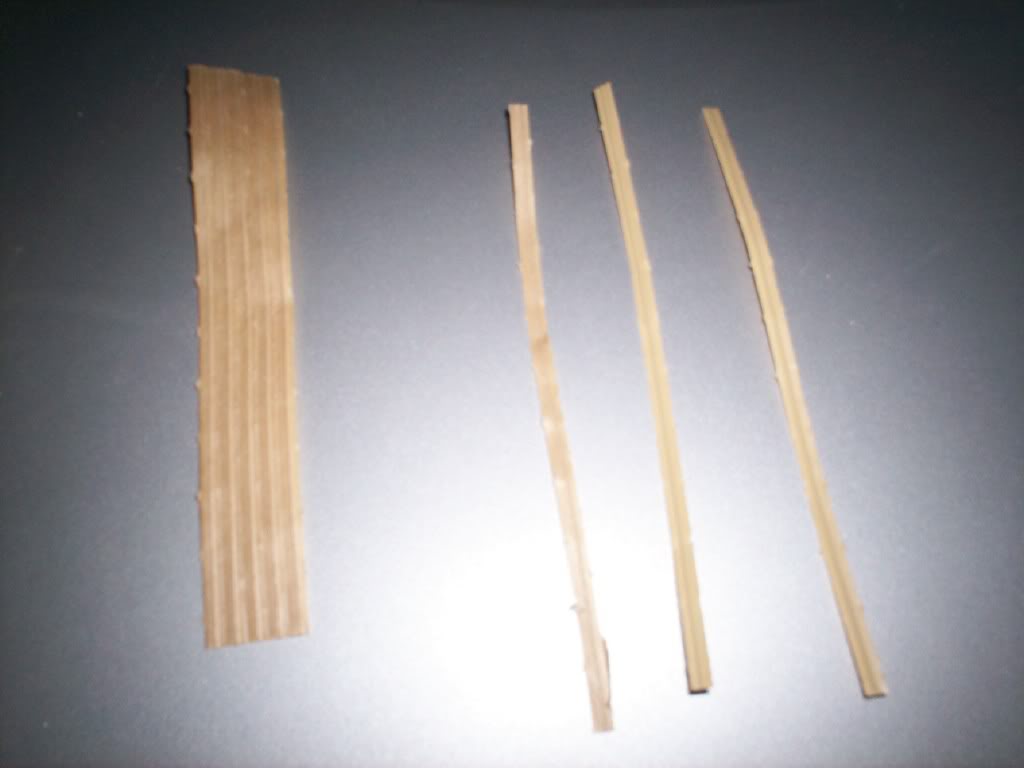
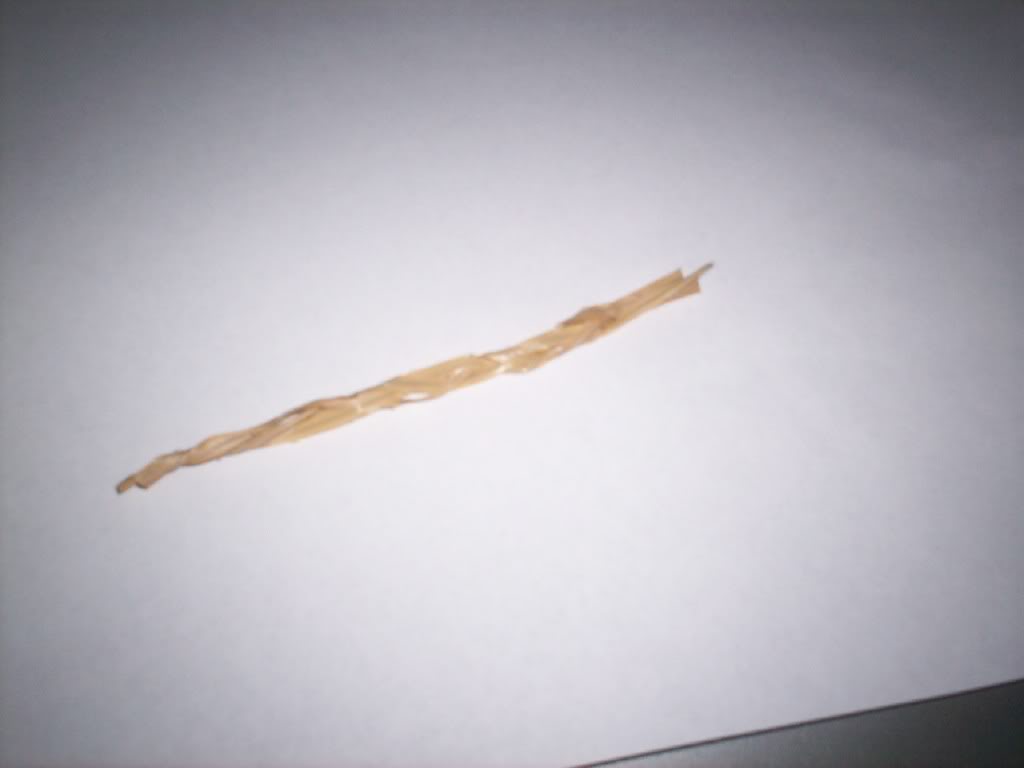
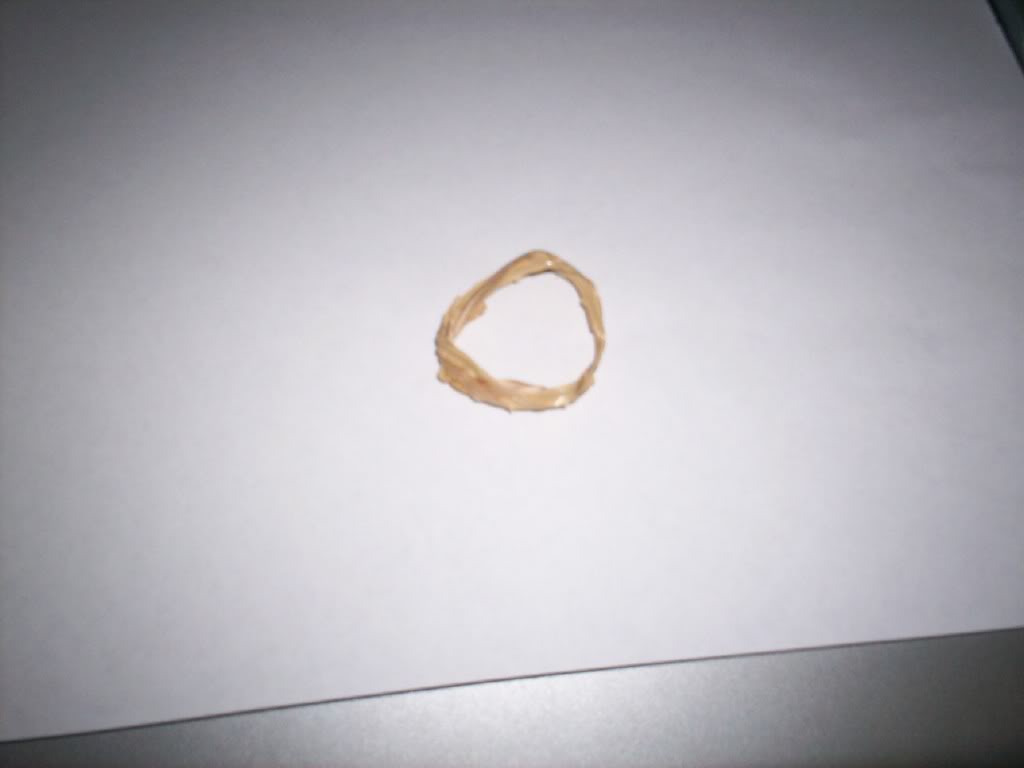
Take your 3 twist ties and twist them together firmly at one end. Braid all three ties together into one long, sturdy piece. Once braided, bend and shape the piece into a circle approximately 1" across, securing the ends together. Set aside while you prepare your leaves.
Step 2 — Paint the Leaves.
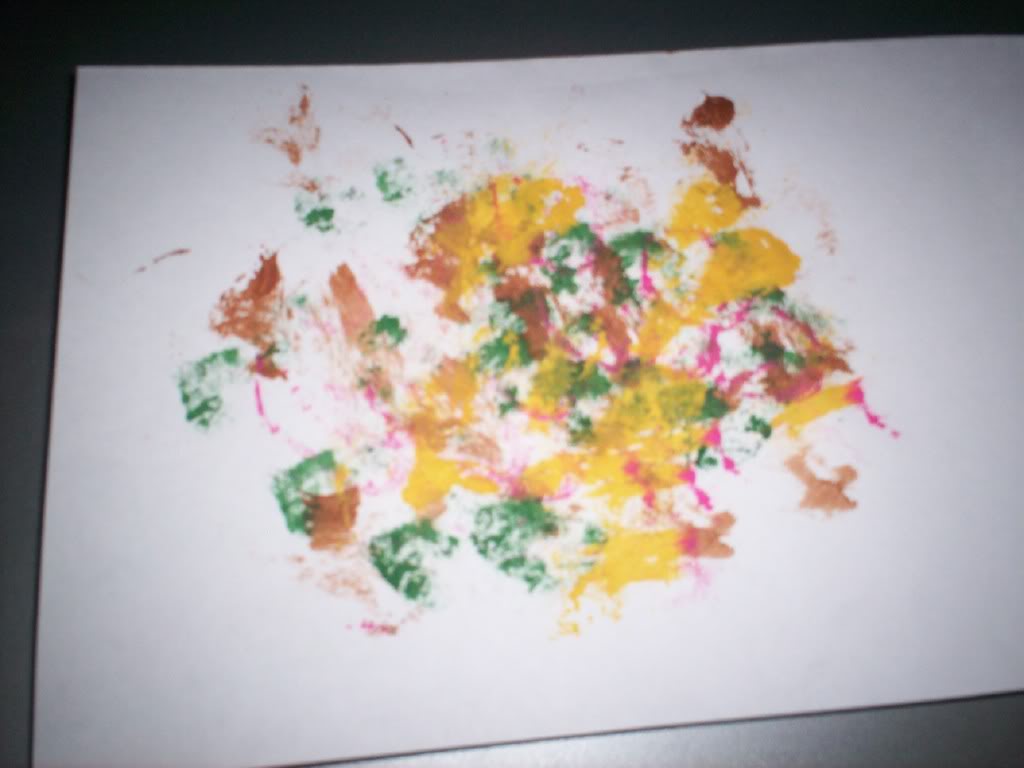
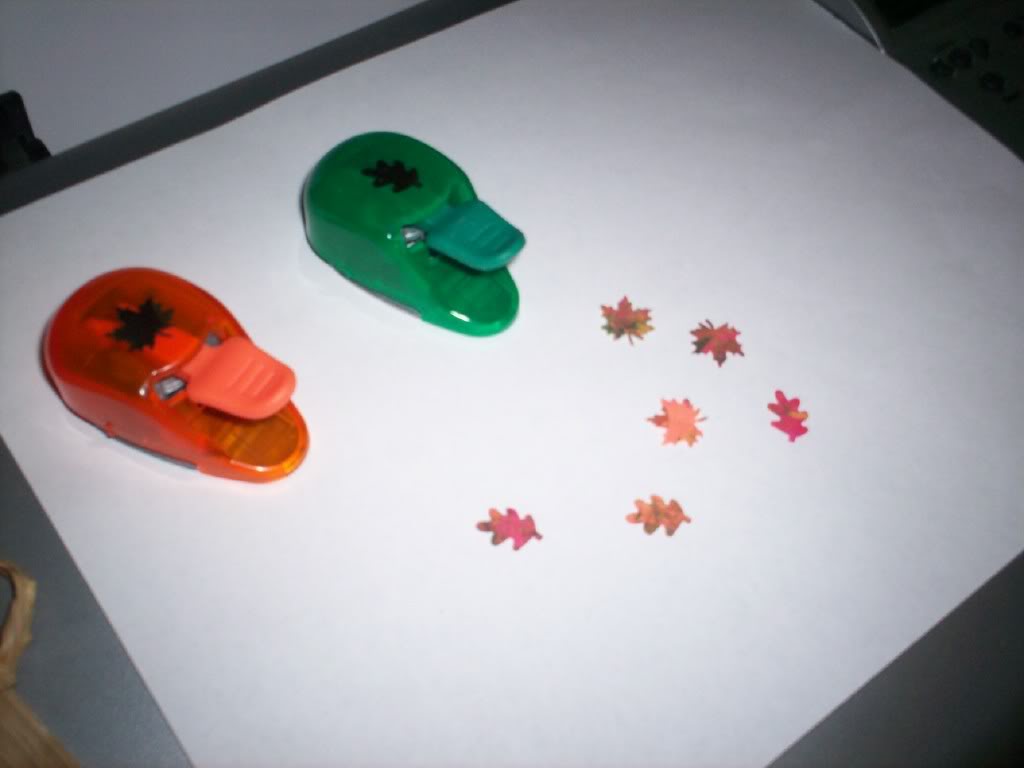
Lightly sponge paint your coloured construction paper with acrylic paint in your chosen autumn colours. You don't need to cover the paper completely — partial coverage and colours blending together actually creates a much more natural, realistic leaf effect! Allow the paint to dry fully before moving on.
Tip: White paper was used in the tutorial photos to better show the paint colours, but any coloured construction paper works beautifully. Once dry, use your leaf punch to punch out a good variety of leaves, mixing the different painted papers to create a lovely range of colours.
Lightly sponge paint your coloured construction paper with acrylic paint in your chosen autumn colours. You don't need to cover the paper completely — partial coverage and colours blending together actually creates a much more natural, realistic leaf effect! Allow the paint to dry fully before moving on.
Tip: White paper was used in the tutorial photos to better show the paint colours, but any coloured construction paper works beautifully. Once dry, use your leaf punch to punch out a good variety of leaves, mixing the different painted papers to create a lovely range of colours.
Step 3 — Apply the First Layer of Leaves
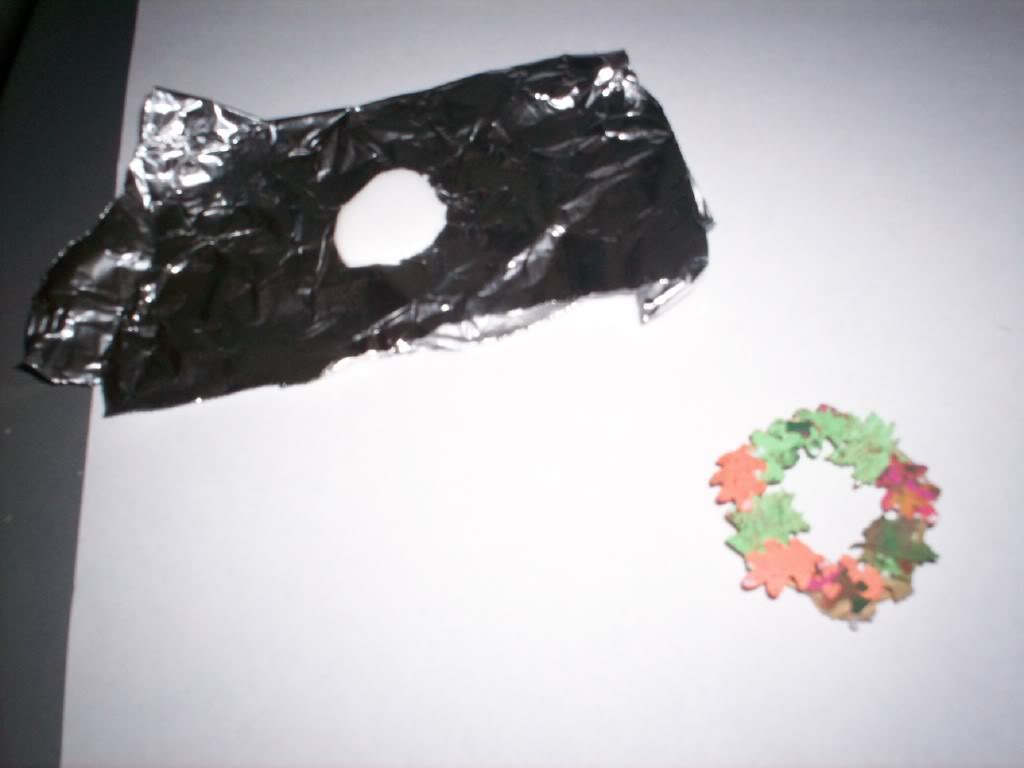
Glue your first row of leaves flat against the twist tie wreath base, working all the way around. This base layer anchors everything in place and sets the foundation for building up the wreath.
Step 4 — Build Up the Wreath
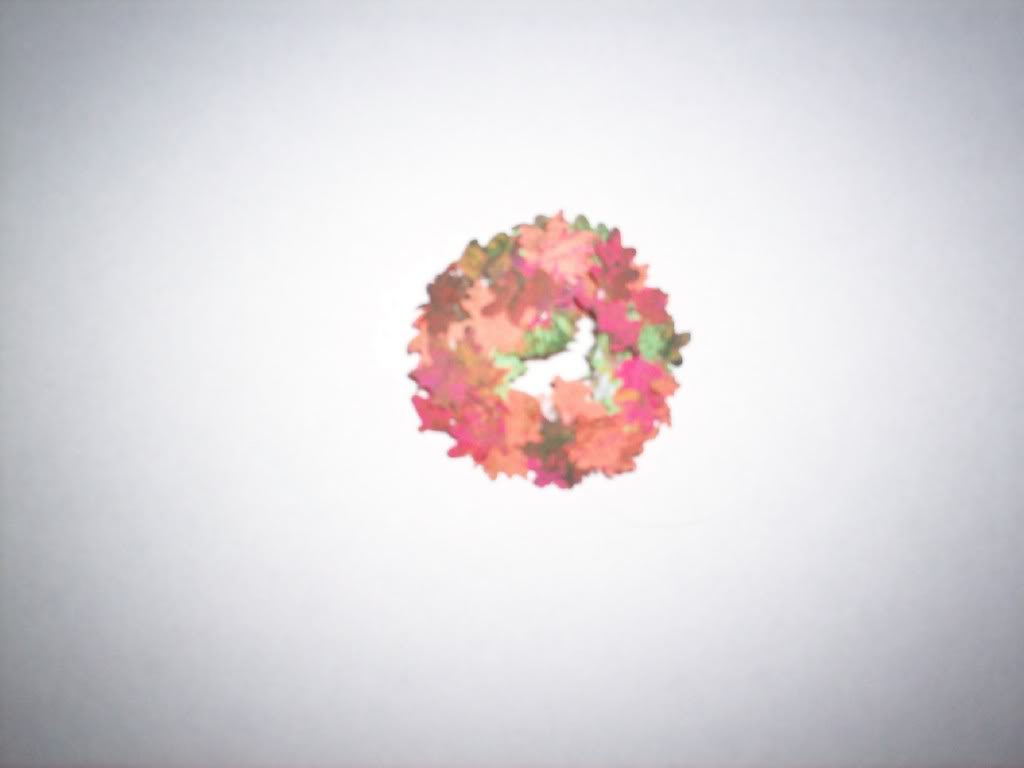
Continue adding leaves to build up the wreath, but this time dip only the edges of each leaf into a small pool of glue rather than gluing them flat. Layering the leaves this way creates beautiful dimension and a much more realistic look. Use tweezers for precise placement of the tiny leaves.
Key tip: Before the wreath is completely dry, gently push the outer edges of the leaves downward over the wreath form. This covers the twist tie base and encourages the leaves to lift and curl naturally — exactly like real autumn leaves!
Continue adding leaves to build up the wreath, but this time dip only the edges of each leaf into a small pool of glue rather than gluing them flat. Layering the leaves this way creates beautiful dimension and a much more realistic look. Use tweezers for precise placement of the tiny leaves.
Key tip: Before the wreath is completely dry, gently push the outer edges of the leaves downward over the wreath form. This covers the twist tie base and encourages the leaves to lift and curl naturally — exactly like real autumn leaves!
Tips & Ideas
- Colour variations: Try a more muted, vintage palette using dusty rose, burgundy, and ochre for a sophisticated look, or bright jewel tones for a bold statement wreath
- Add embellishments: A tiny polymer clay pumpkin, a miniature bow, or a small dried berry cluster tucked into the wreath adds charming seasonal detail
- Spring/summer version: Swap the autumn leaf punch for flower punches and use pastel paints for a beautiful year-round wreath
- Winter version: Use silver and white paint on the leaves and add tiny "snow" dots with white paint for a frosted winter wreath
- Display: Hang on a dollhouse front door, above a fireplace, or prop against a wall for a cozy seasonal vignette