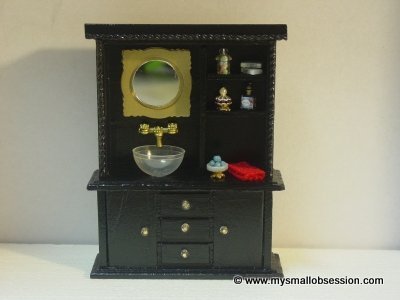
Miniature Faucet Tutorial
For Personal Use Only Please
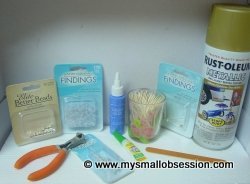
Supplies:
I bought the jewelry clasps, head pins & earring backs at Michaels, the brand is "Jewelry Essentials Findings". The spacer beads are also from Michaels and the brand is "Elite Better Beads".
- Jewelry Clasps (1)
- Clear Pierced Earring Backs (3)
- Tacky or Craft Glue
- Super Glue
- Toothpicks
- Spray Paint (Chrome/Silver or Gold)
- Sand Paper
- Wire Cutters
- Decorative Head Pins (3)
- Spacer Beads (1)
I bought the jewelry clasps, head pins & earring backs at Michaels, the brand is "Jewelry Essentials Findings". The spacer beads are also from Michaels and the brand is "Elite Better Beads".
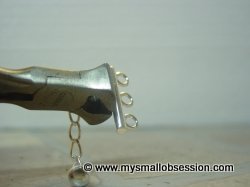
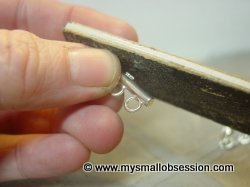
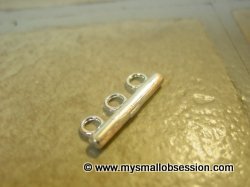
Use the wire cutters to cut the chain off of the jewelry clasp. Be sure to cut off the small metal circle part holding the chain too. Sand off anything left, get the surface as even as possible. Set aside.
|
|
|
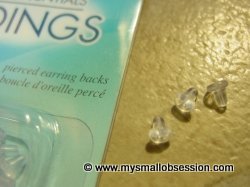
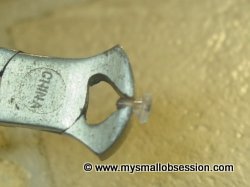
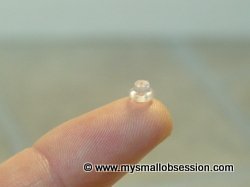
Use wire cutters to cut off about half of the bottom portion of two of the earring backs, as shown in the photos below.
|
|
|
Use wire cutters to cut two of the head pins to fit your two cut earring backs.
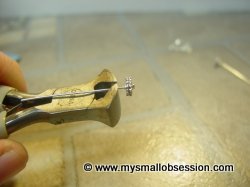
|
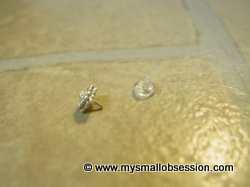
|
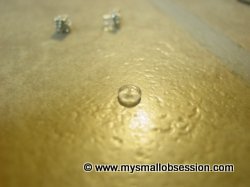
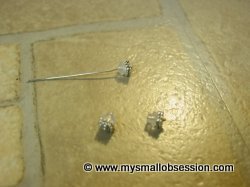
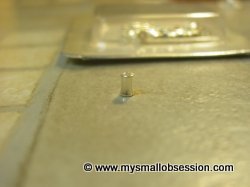
Push the head pins into the earring backs as shown in the photo. I used a small amount of tacky glue to secure the pins. Use wire cutters to cut the third earring back. Cut this one all the way to the base so it looks like the photo below.
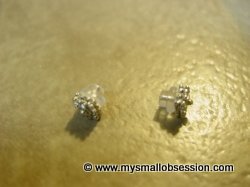
|
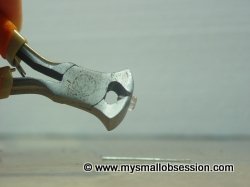
|
|
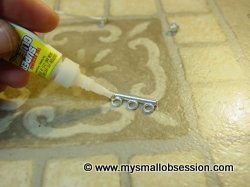
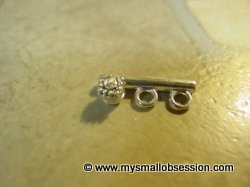
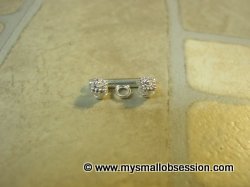
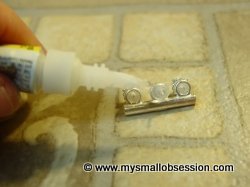
Take your third head pin and push it through the earring back. Do not cut off the head pin yet, see photo. Carefully add a drop of superglue to an earring back and place it on one of the rings on the jewelery clasp. Do the same to the other side and allow to dry.
|
|
|
|
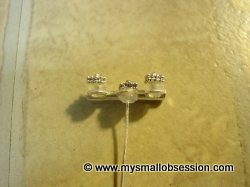
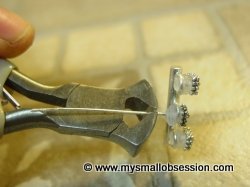
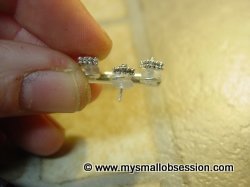
Add a small drop of superglue to the last earring back with attached head pin and carefully place in the last ring as shown in photo. Allow to dry. Use wire cutters to cut off most of the length of head pin as shown in photos.
|
|
|
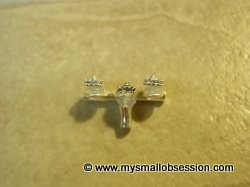
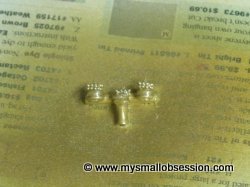
Add a small drop of super glue to the center earring back and place bead spacer as shown in photo. Set aside to dry. Once the glue is dry, spray paint with color of your choice and allow to dry.
|
|
|
|
I used a plastic container from a toy machine for the sink and a hutch from Michaels to make the cabinet. The mirror is glued to a scrapbook embellishment I spray painted gold. The jar of "bath beads" is a clear straw filled with small colored beads, a cut piece of a clear push pin, and a clear bead glued on top. The bars of soap are made from painted wood and printies. The perfume bottles are beads and findings. The soap dish is made from a jewelry finding glued to a button and filled with polymer clay soap balls, and the hand towel was cut from an old necktie.