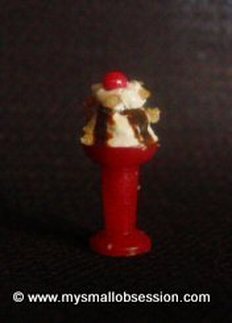
Miniature Ice Cream Sundae Tutorial
|
Supplies:
|
*Bonus Video Tutorials at the bottom of this page ~ More Sundae & Ice Cream Tutorials
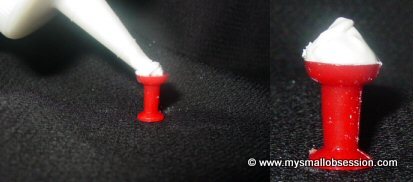
Use wire cutters to remove the pin. It's ok to leave some of the pin behind, it will be covered. If you want to remove the pin completely, use a lighter to carefully heat the pin part of the push pin with the lighter, make sure not to get to close to the plastic. After several seconds use small pliers to pull the pin out. Try to pull the pin straight out or the plastic can bend. Use a nail file or sandpaper to smooth if needed. *Children should not use a lighter without adult supervision*
Add some Spackle or Caulking to a syringe or applicator bottle. Place a small amount on the top of the pin making sure to cover the surface. Continue adding and building up until it looks like a scoop of ice cream.
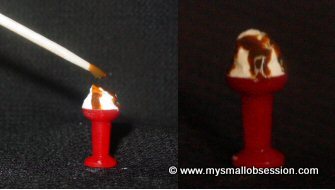
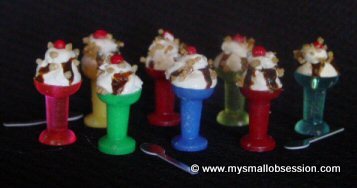
Use a toothpick to apply a little gallery glass on the top and down the sides of your ice cream to simulate hot fudge. You may use other colors of gallery glass for different types of sundaes. Allow Dry.
While your ice cream and topping dries, roll a small snake of red clay and cut into small pieces. Roll into little balls and bake according to package directions.
Place a small amount of dried grated orange peel into a plastic bag and crush a little. Mix a tiny amount of Amber gallery glass in, this mixture will be the "nuts" for your sundae. Mix well and let dry. When your cherries are done baking and cooled, add a small dollup of spackle or caulking to the top of your ice cream to simulate whipped cream and gently place a cherry on top.
Use a golf tee and a small piece of mini hold to keep your sundae in place and keep your hands clean. Lightly spray with craft bond and sprinkle "nuts" on top. When dry, brush with clear nail polish.
Miniature Ice Cream Tutorials
This playlist include four tutorials. Click Here To Subscribe To SugarCharmShop's YouTube Channel
This playlist include eleven tutorials. Click here to subscribe to Toni Ellison's YouTube Channel


