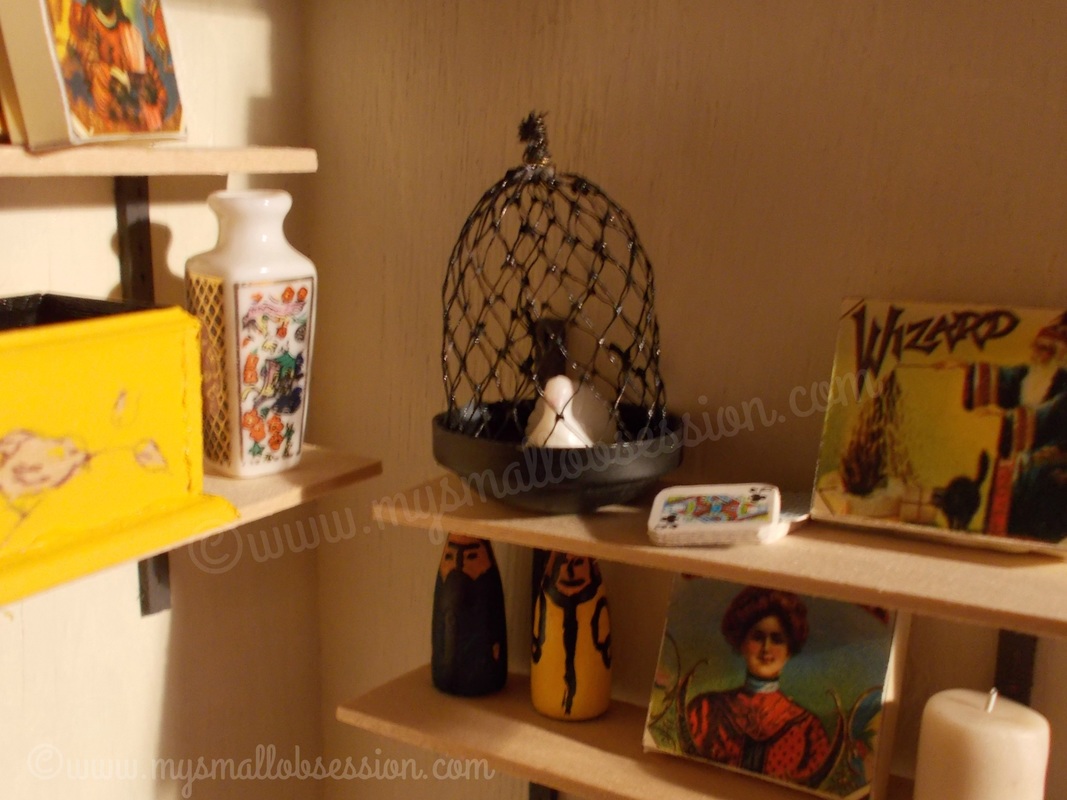
Simple Miniature Birdcage Tutorial ~ A Trash To Treasure Project
|
Turn everyday recyclables into a charming miniature birdcage! This quick and easy project uses items you likely already have at home — plus a sweet little bird from the dollar store — to create a beautiful decorative accent for any room in your dollhouse.
Tips & Ideas
|
|
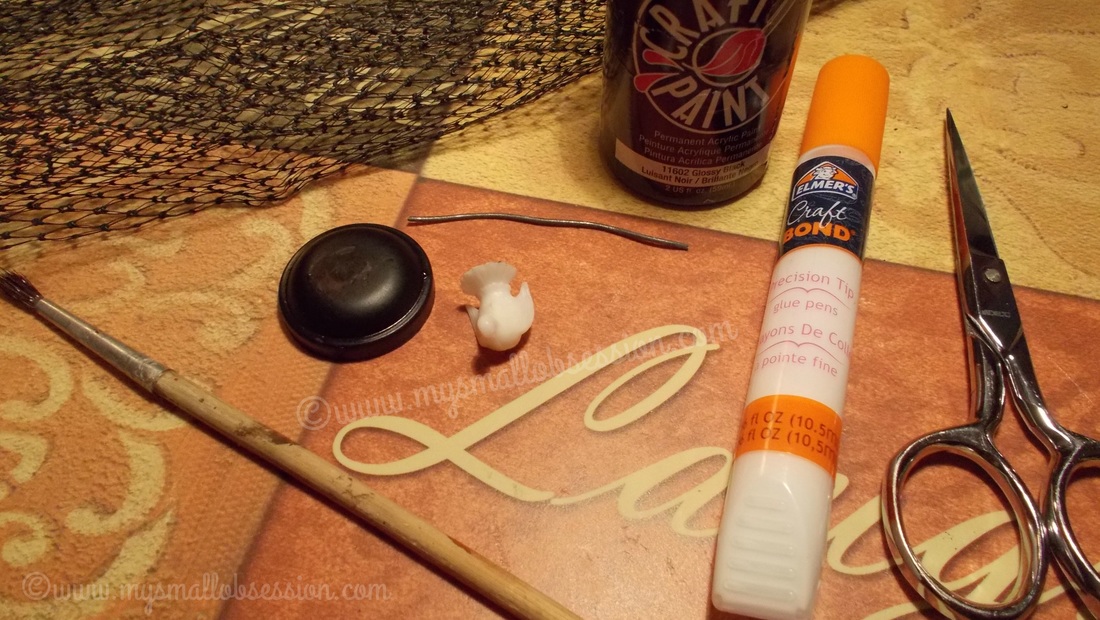
What You'll Need
|
|
Step 1 — Prepare the Netting & Cap
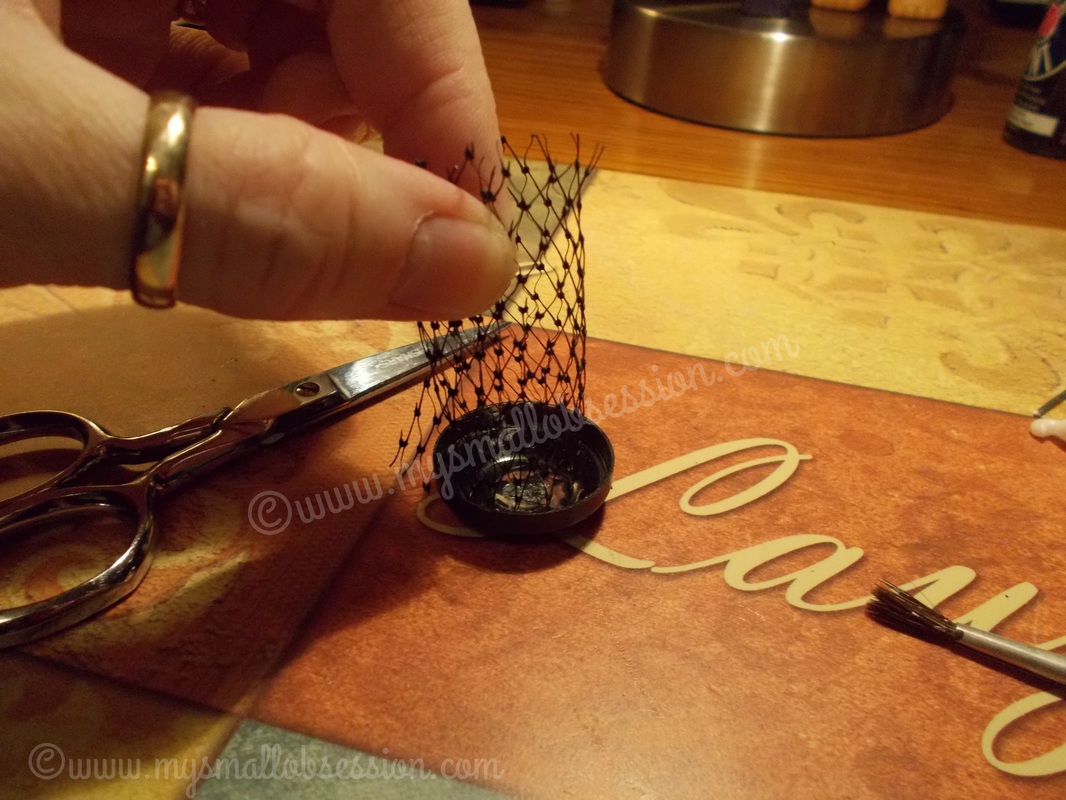
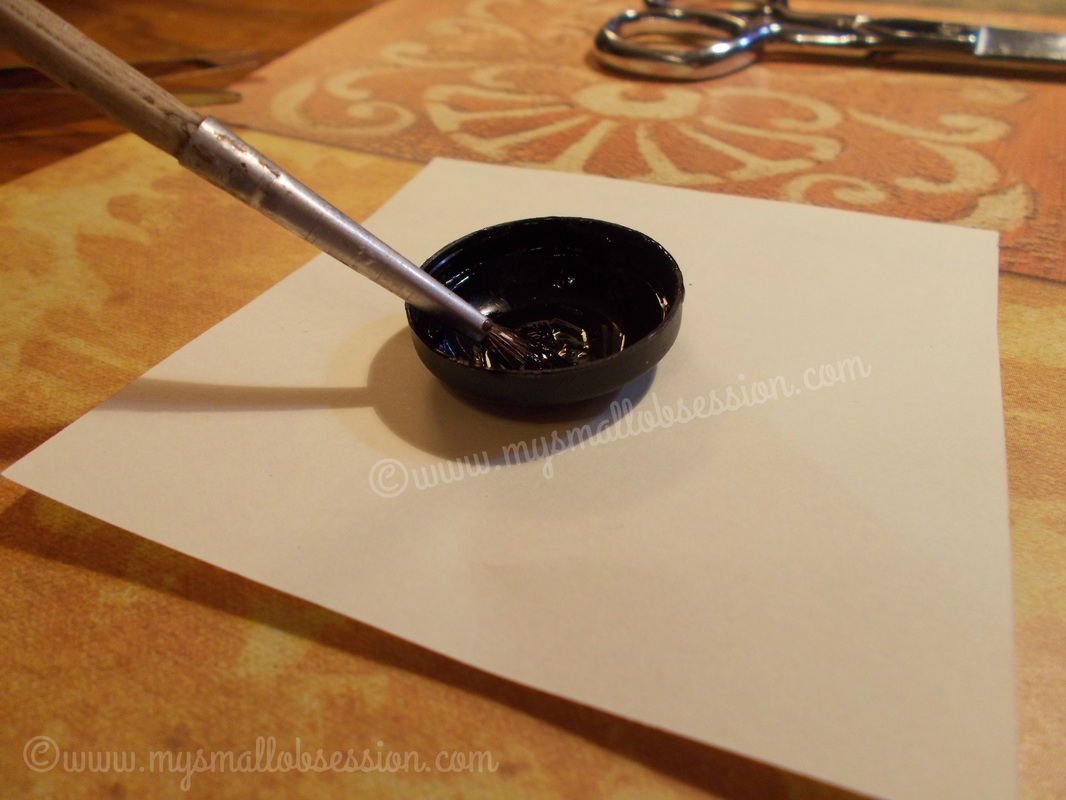
Cut a small rectangle of netting approximately 2 inches tall. Dry fit it inside the cap — it should overlap just slightly — then trim as needed. Paint the cap in your desired colour and set aside to dry completely.
Step 2 — Shape the Cage
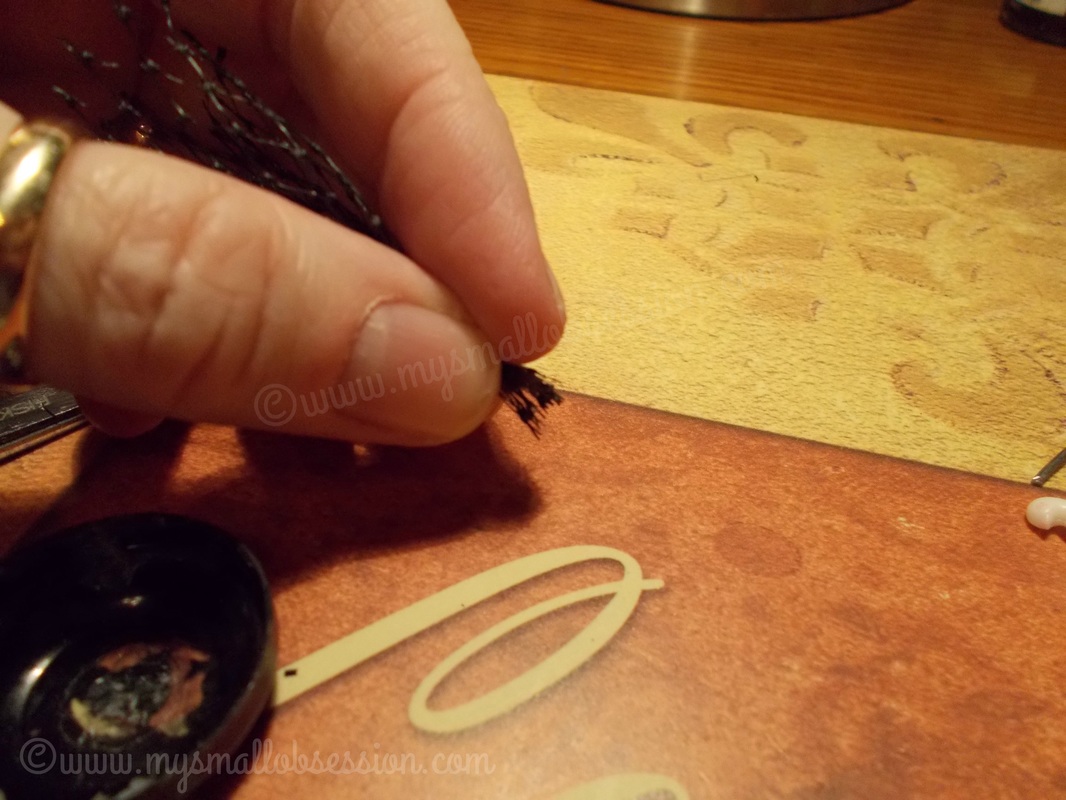
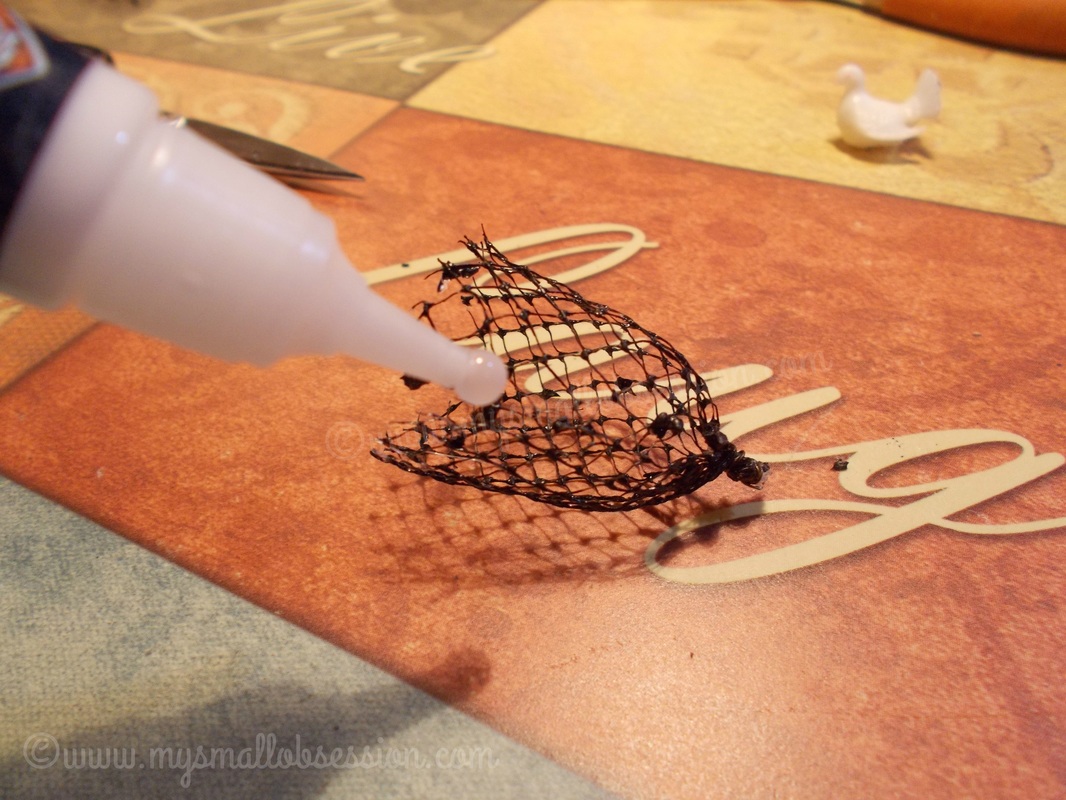
Gather one end of the netting together and wrap your string, wire, or thread tightly around it. Tie it off securely and add a small drop of glue to hold it in place. Add a little glue along the overlapping edge of the netting as well to help it keep its shape. Allow everything to dry fully before moving on.
Step 3 — Assemble
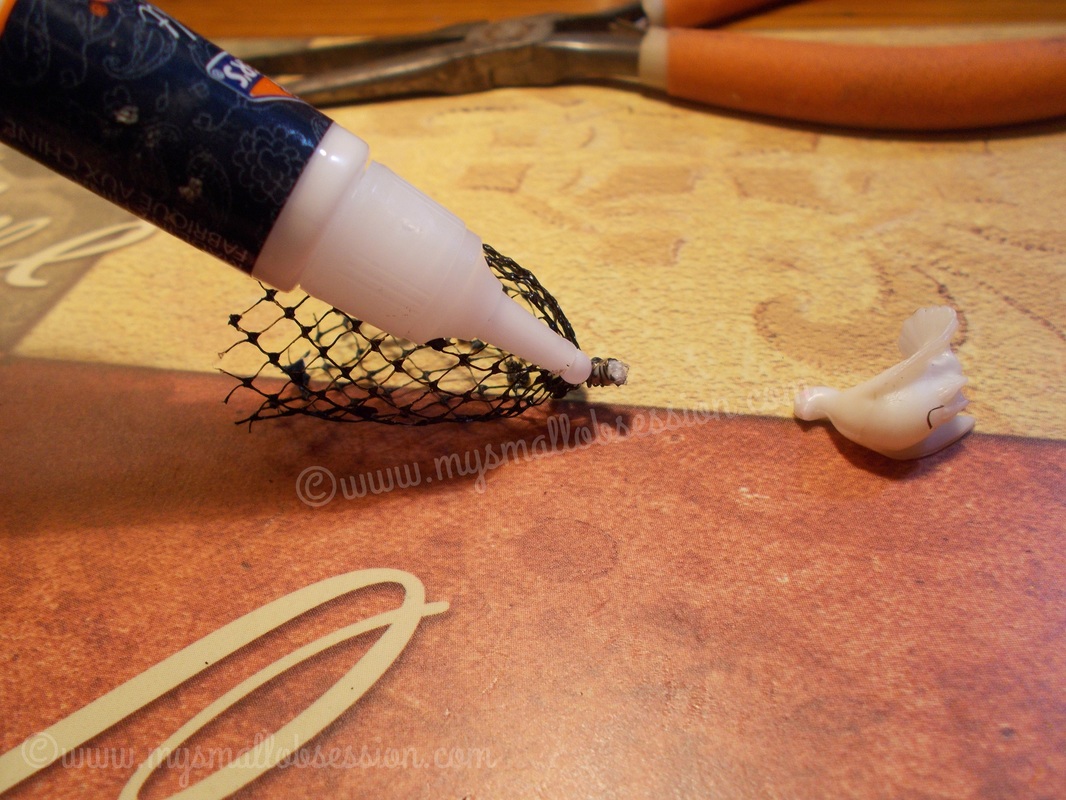
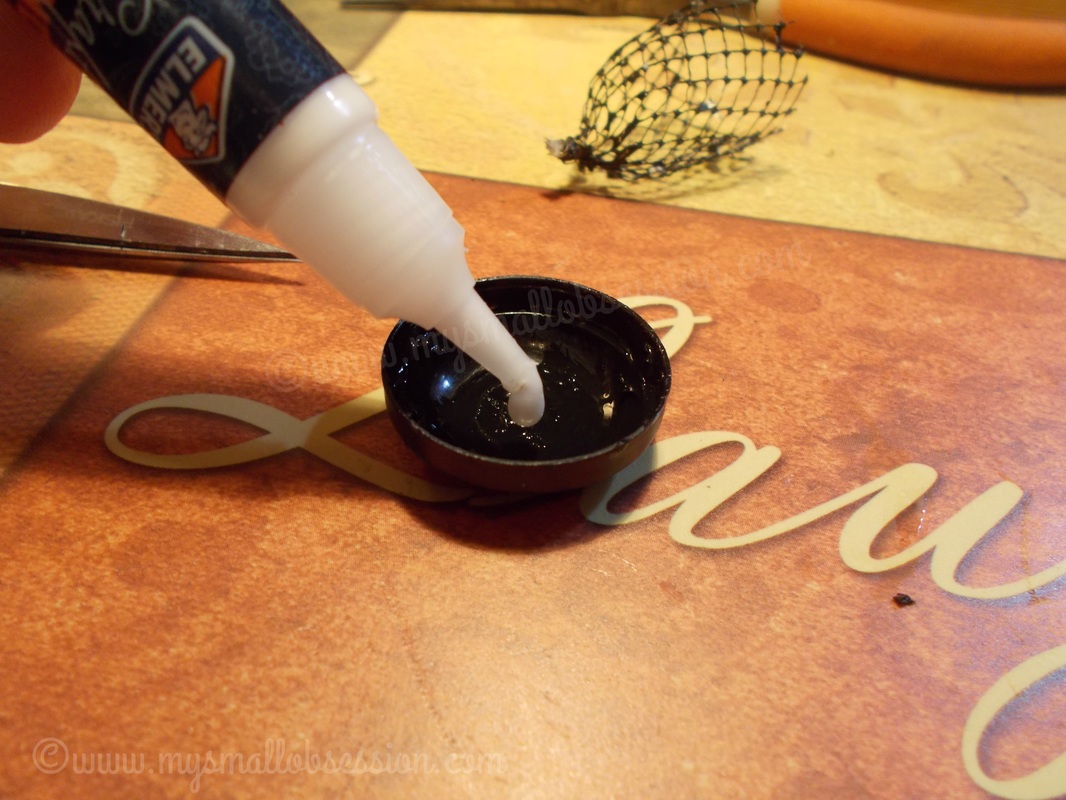
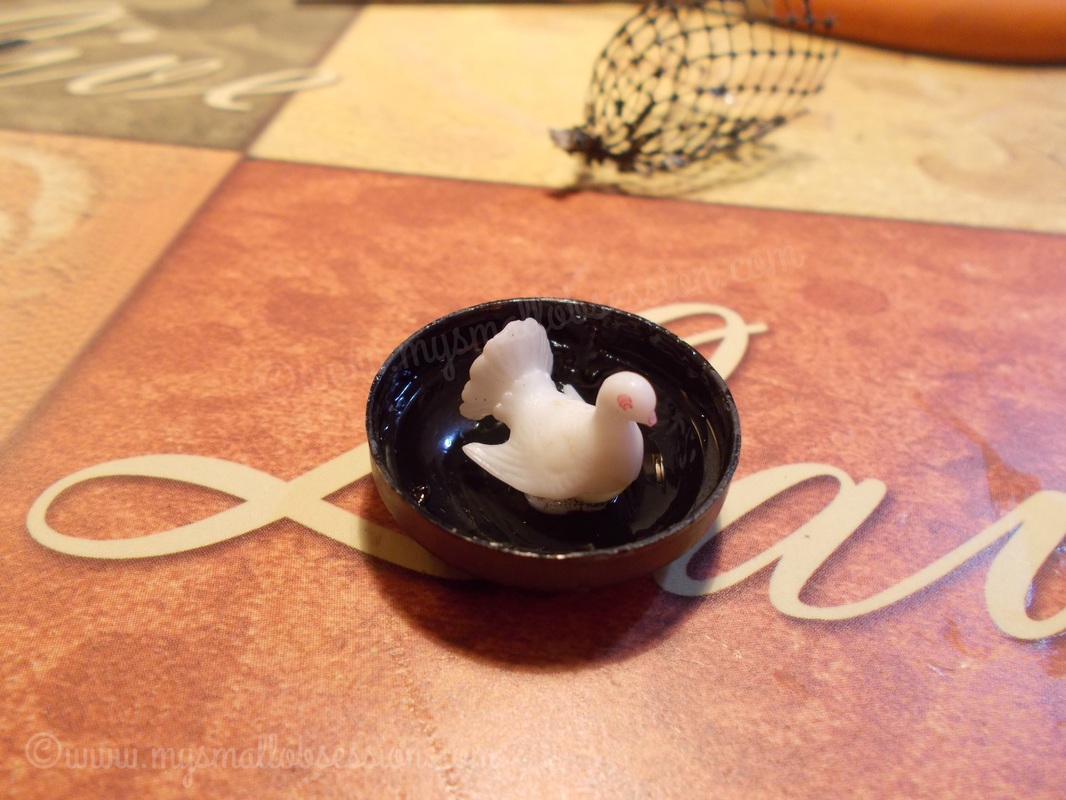
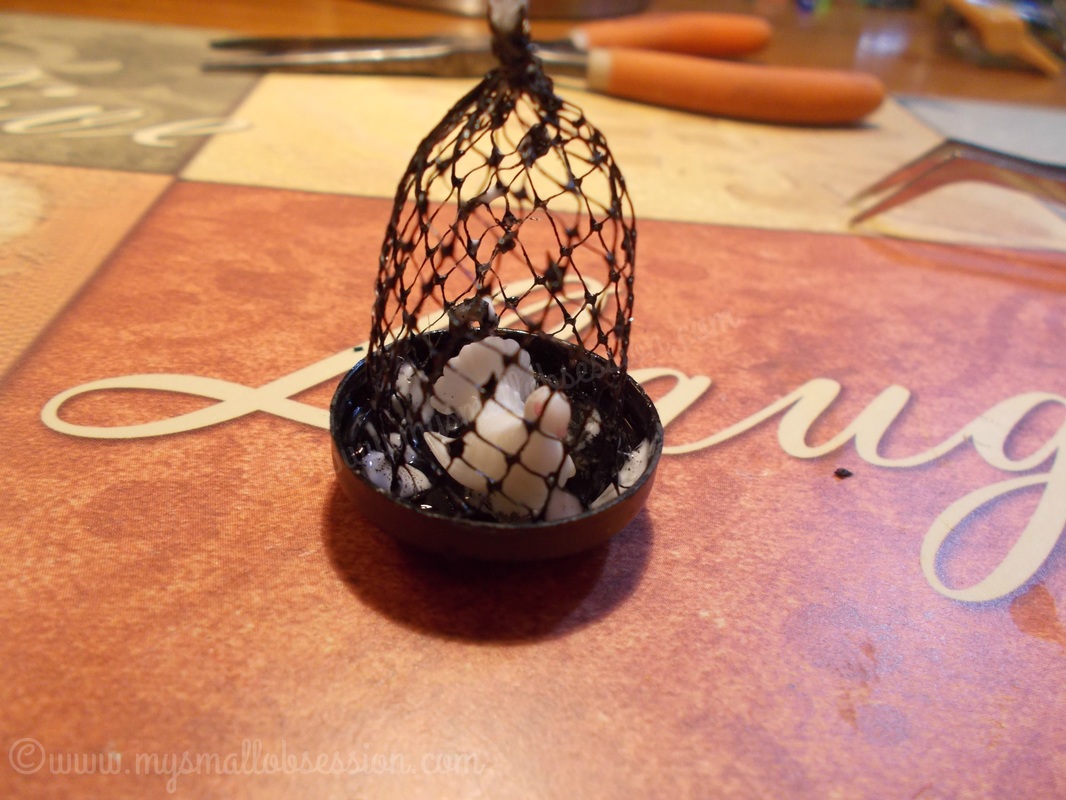
Add a drop of glue to the centre of the cap and place your bird inside. Apply glue to the ends of the netting and press them into the cap, positioning the netting around the bird to form the cage. Hold in place and allow to dry completely.