Paper Tulip Tutorial
Supplies:
- Coffee Filters
- Scissors
- Glue
- Tweezers
- Florist Wire
- Standard Hold Punch
- Ball Stylus or Paintbrush
- Mouse pad or Foam Deli Tray
- Small piece of Styrofoam
- Small Container to hold Tulips
- Paints - green, brown and your choice of color for Tulip petals
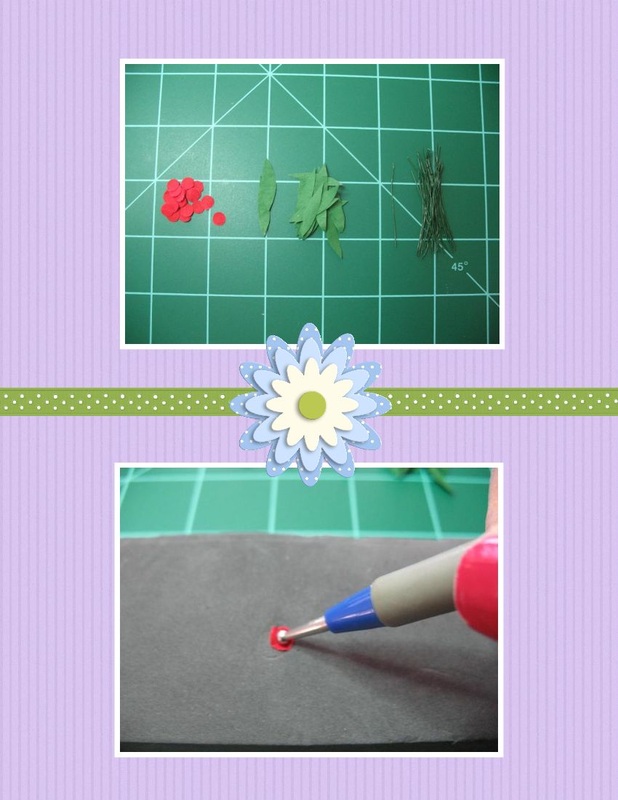
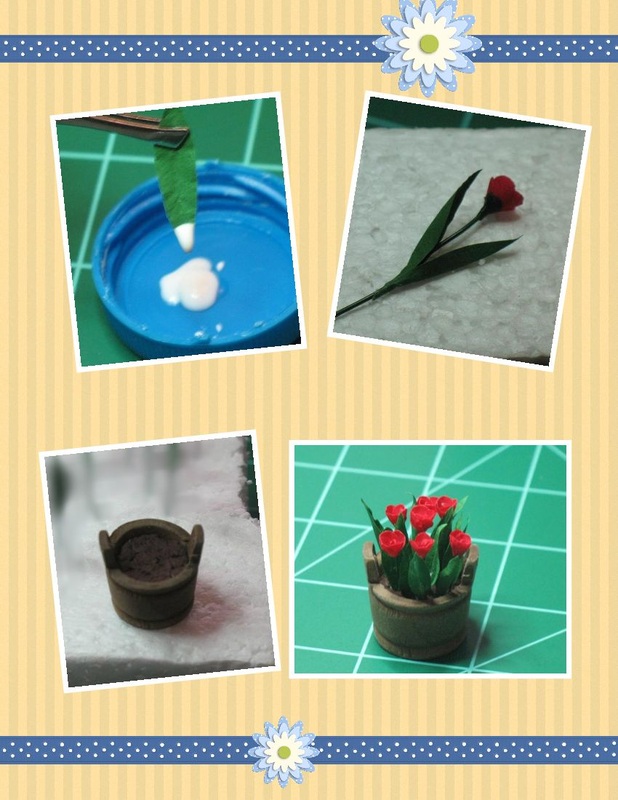
The main components are painted coffee filters, from which you punch circles and cut out leaves, and florist wire. The leaves are roughly 1-1/8" long. Use a ball-ended tool or the end of a paintbrush and make circular motions to make the circle curve up to look more like a tulip petal. This needs to be done on a slightly spongy surface...like a mousepad or foam deli tray.
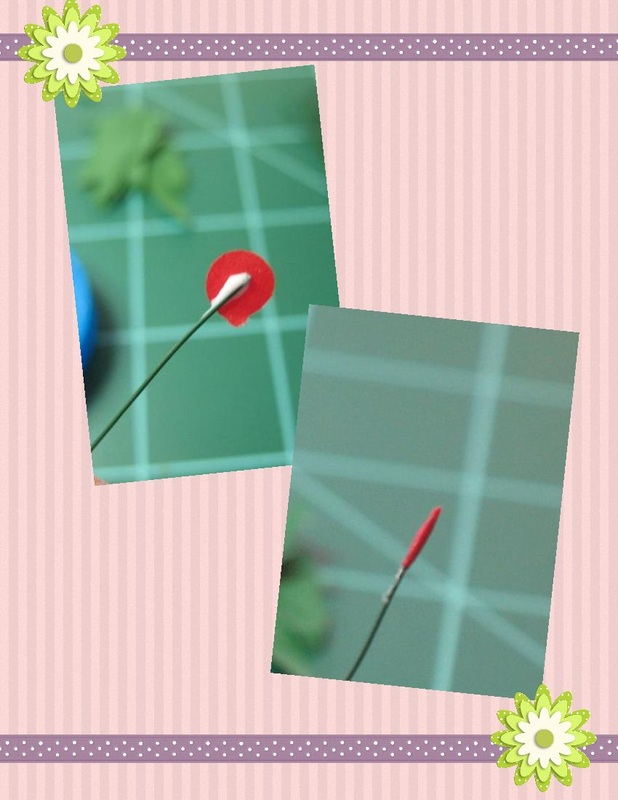
Glue a circle to the top of the wire. Give the glue a minute to set then roll it completely around the wire.
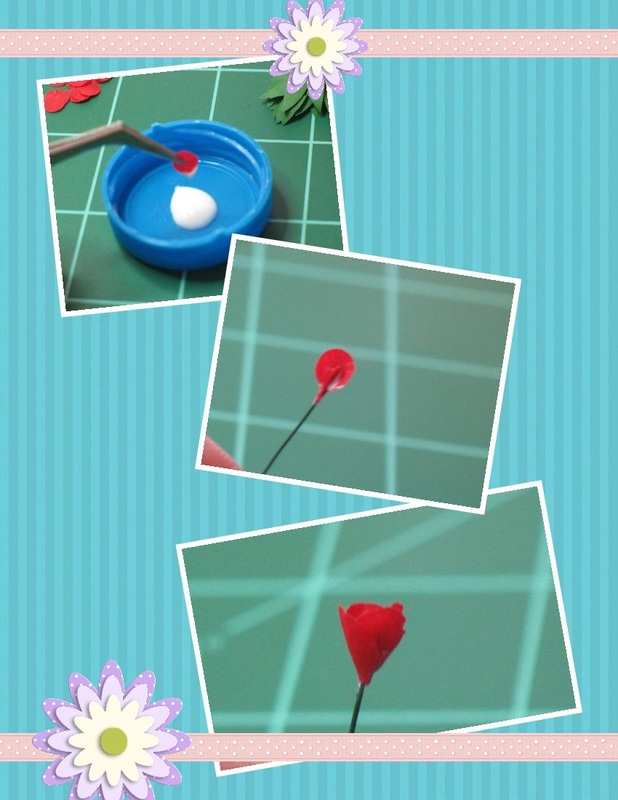
Dip another circle (petal) into glue and add it to the first one, squeezing the bottom of the petal around the wire.
Add three more petals, slightly overlapping each one. Allow to dry.
Add three more petals, slightly overlapping each one. Allow to dry.
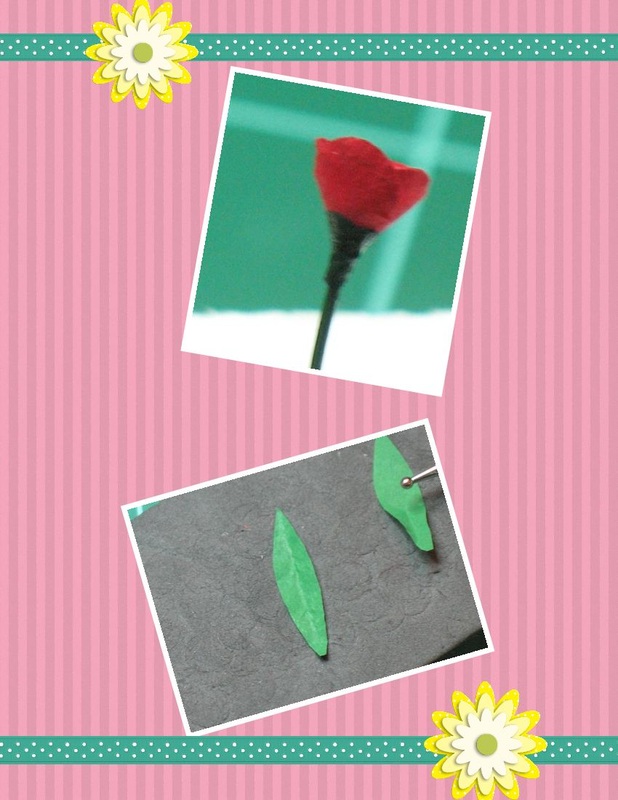
Paint the bottom of the tulip and part of the wire dark green to cover any visible glue and to match the wire. Make a crease in the leaves.
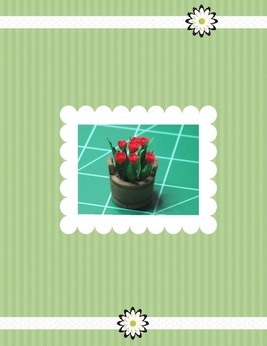
Dip the ends of the leaves in glue and glue one leaf on each side of the wire, near the bottom. Twist to secure. Glue a piece of Styrofoam into your container and paint it brown. Trim the wires to the size needed to fit your container, dip the bottom of the wires into glue and stick them in. Voila!
This tutorial was created using My Memories Suite Digital Scrapbooking Software!
Use my code to save $10 on My Memories Suite ~Coupon Code STMMMS21110
(Just copy and paste code)
(Just copy and paste code)
